|
The third day of Armed To Farm began with more class time. We began by covering one of the ways to fund a farm, namely Farm Credit. It works similarly to a credit union. They offer credit, in the form of the Growing Forward program, to young and beginning farmers. They encourage any new customer to come prepared with their credit report, information on all credit cards. a business plan, a balance sheet, and an income statement. The last three may seem daunting, but NCAT provides assistance to farmers in the form of tutorials and worksheets for free, as well as publications for a very small fee. (Credit reports can be obtained for free.) The Farm Credit presenter also explained that they look for the following when deciding whether to finance customers:
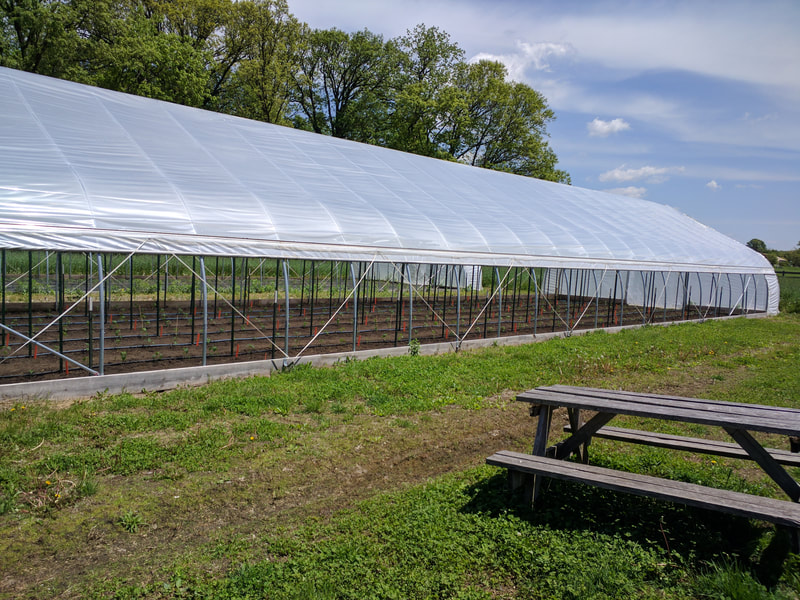
At this point, let me just pause to mention that we are not attorneys. We are not offering advice of any kind (simply passing on information we received during Armed To Farm). If you have legal questions, please consult an attorney. The next presenter was an attorney with the National Ag Law Center. The first topic was Business Structures. In general Sole Proprietorships and General Partnerships are the most risky as they provide no liability protection to the owners. If your business is held liable for something, you as the owner are held liable and all assets (business and personal) are at risk. The business structure providing the most liability protection is the Limited Liability Corporation (LLC). It's important to separate personal and business accounts and assets. Another topic covered was Premises Liability, described here. Also covered in that link was the Attractive Nuisance Doctrine (i.e. neighborhood kids see your tractor/pond by the road and decide to play on it). There were also brief discussions on various signs around your property and their actual usefulness, such as: agritourism, no trespassing, and warning. The last bit of advice we received was to be exceptionally careful about operating petting zoos, as they present all sorts of liability issues (once again, consult an attorney). We briefly covered Record Keeping. More information can be found here. The final classroom topic of the day was Soil Health. Soil tests, such as the Archuleta Slake Test, can be used to determine how much structure (roots, and whatnot) are holding the soil together, which is an indicator of soil health. Soil health can be improved by planting diverse crops and rotating those crops. This helps replenish nutrients in the soil (e.g. legumes trap nitrogen) and break the life cycle of pests. For those not familiar with the Dust Bowl of the 1930's, it was caused by excessive plowing of virgin topsoil, causing an ecological disaster. Modern farming techniques use several techniques to keep topsoil in place, such as: mulch, cover crops, and tall grass grazing. After all that classroom time, we were ready for another field trip! We traveled to Blue Yonder Organic Farm. Sara Creech, a fellow Air Force veteran and founding member of Farmer Veteran Coalition of Indiana, runs and owns Blue Yonder. As her website states: The farm produces a wide variety of fresh vegetables, fruits, meats, eggs, and honey using organic methods. Sara was gracious enough to host the Armed To Farm crew for an evening cookout and gave us a tour of her impressive farm. Not shown in the pictures is Blue Yonder's mushroom cultivation area. We had the pleasure to attend a mushroom cultivation training for veterans last year, organized by Sara. A brief introduction can be found here; we used the plug spawn. Perhaps in a later blog we'll cover mushroom cultivation in greater detail.
While at Sara's farm we also heard a presentation on the programs offered by the Natural Resources Conservation Service (NRCS), but that will have to wait until our next post! Part 2 of Armed to Farm began with a training on farm planning and marketing. For a business to be successful, you have to understand exactly what it is you want the business to do. To that end, we used worksheets to ask questions like:
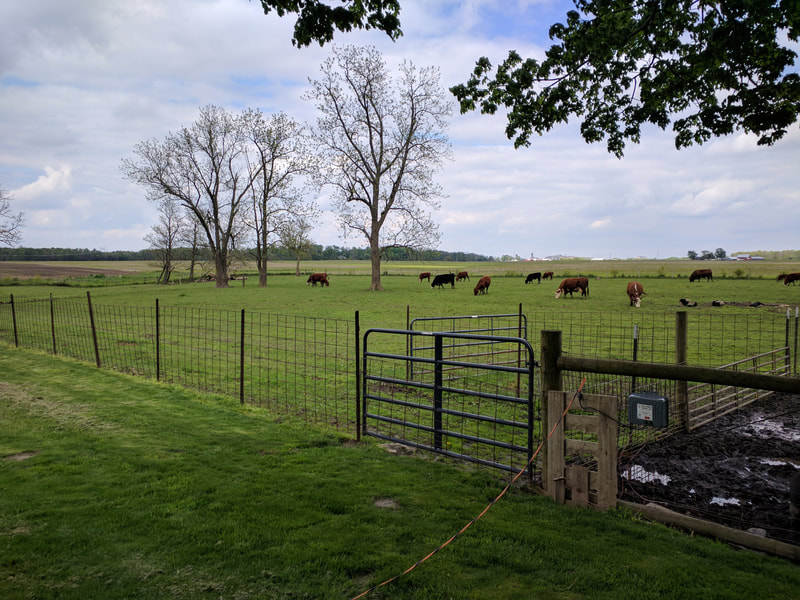
After visiting the Student Farm, the group traveled to Crowl Cattle Farm. (Sorry, no pictures; just a business card.) The family farm is run by Cadel and Rebecca Crowl (great hosts; Cadel is also a veteran). They focus on producing high quality beef. They also showed us the NRCS (conservation) improvements they've done to improve the health of their cattle. Record keeping has helped them to accurately determine the most productive mama cows, which in some cases was not what they expected. We got to see their [poop] mountain from the cattle, and how they are planning on turning something they used to give away into sellable compost! We also got to visit their herd in a nearby rented pasture.
In our next blog, we'll cover financing a farm and record keeping, law as is applies to farms, and visit Blue Yonder Organic Farm. It's been a busy month at Four Flags Farm! As an Air Force veteran, Ben applied and was accepted to a veteran farming training in Crawfordsville, IN, called Armed to Farm, which is provided by NCAT. This training is an opportunity for military veterans to learn about sustainable and organic agriculture, including running a farm business. It was a great experience! There were a wide variety of veterans in attendance, representing most branches of the military, about equal amount male/female, various ages from late twenties to late sixties, some brought spouses, etc. Veterans got the chance to learn from presenters from several government agencies, currently practicing farmers, and take numerous trips to visit farms. First the veterans started with a little light reading... Just kidding! This was the reference material that was provided to the veterans that they can use once they get home. After introductions, the group learned about the Farmer Veteran Coalition (FVC). This is a great organization that focuses on helping military veterans who are interested in agriculture. It provides resources for marketing (through Homegrown By Heroes), farming, and business. Additionally, they can provide some financial assistance through their FVC fellowship. Ben is both a member of FVC Indiana and a recipient of the FVC fellowship (gift card to Tractor Supply Co.). The training then covered several programs offered by the USDA. These programs covered:
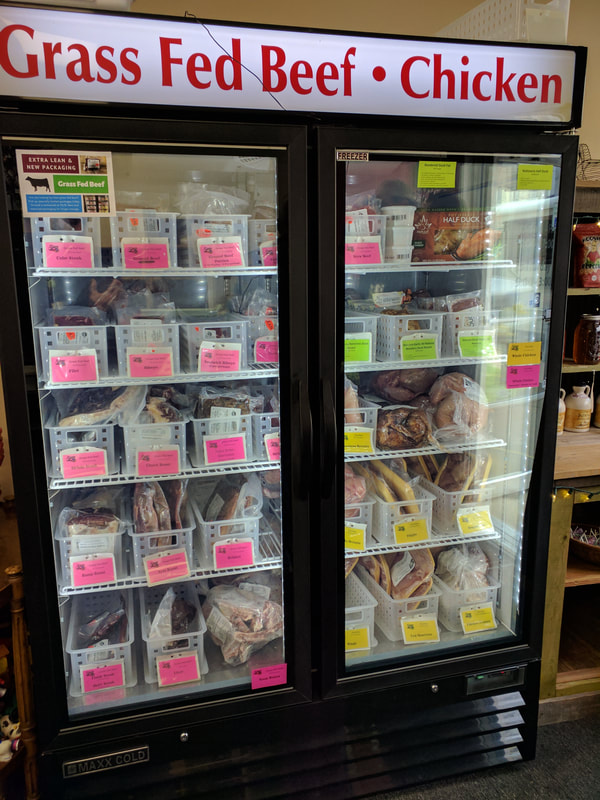
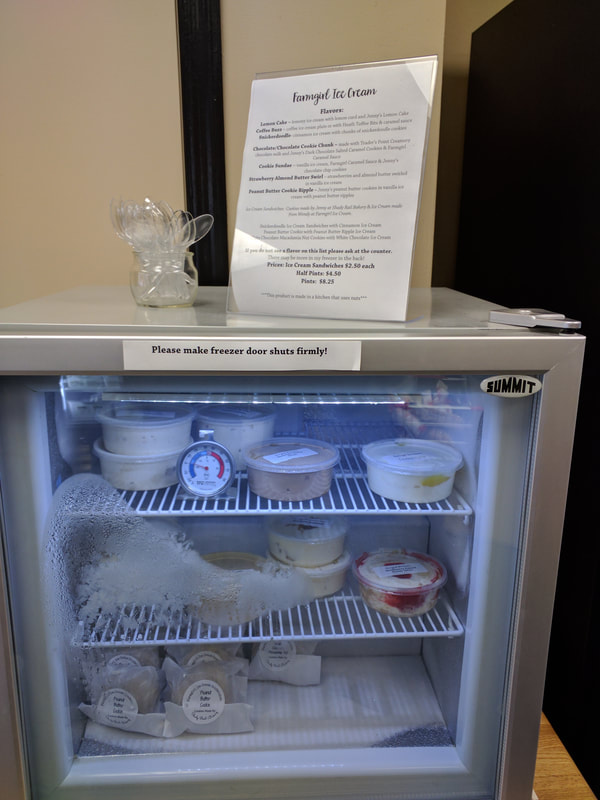
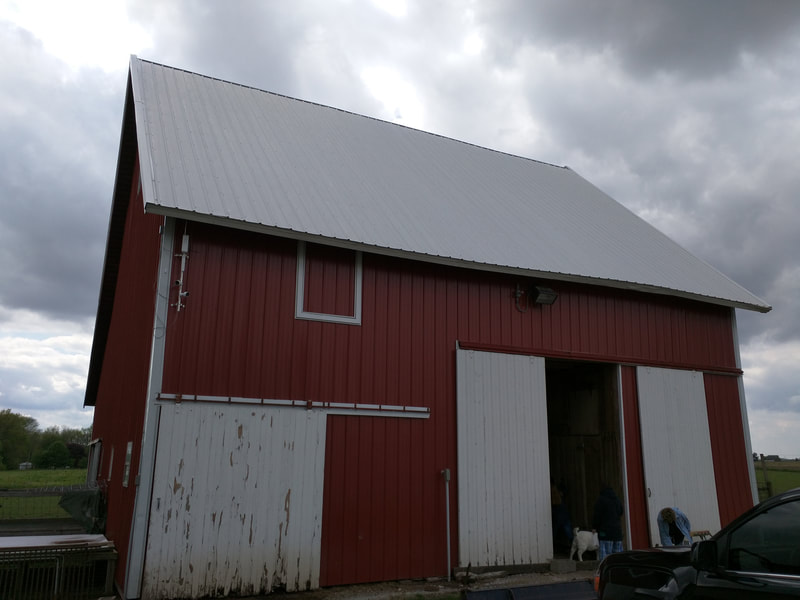
After lunch, we went on the road to visit Four Seasons. The market is a venture by four farmer families to provide local food to the Crawfordsville area year round, instead of only during summer. As their website states: The market offers beef, pork, lamb, chickens, eggs, coffee, homemade heat and serve meals, honey, syrup, and a variety of homemade baked goods. While at Four Seasons, we discussed how they chose their location, their target customers, their business model, local advertising, division of responsibilities of the owners, as well as a couple of "oh poop" moments, such as when freezers break down and product is lost. Our final destination was Shannon Family Farms, one of the four farms that runs Four Seasons. Their family farm is a diversified livestock farm raising pork, beef, chicken, and eggs. They are nestled on a beautiful 9 acre farm, including a barn from the late 1800's. That's it for this post; hope you liked it. Keep checking back for Part 2, when we discuss more classroom topics, the Purdue Student Farm, and Crowl Cattle Farm.
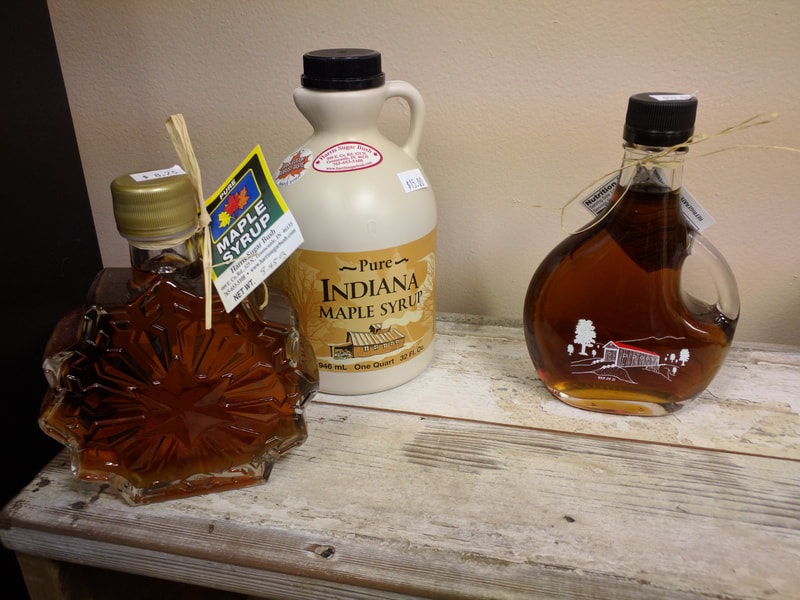
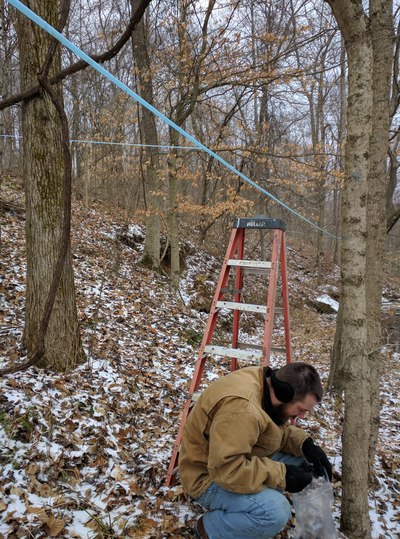
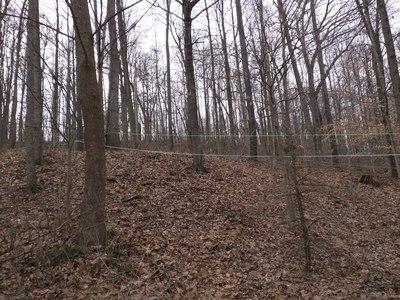
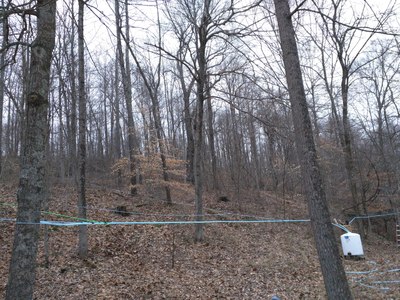
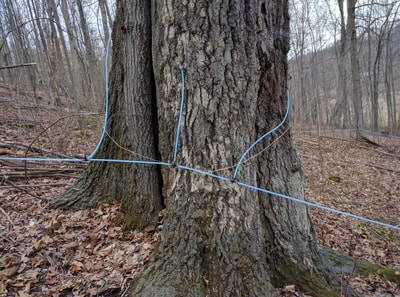
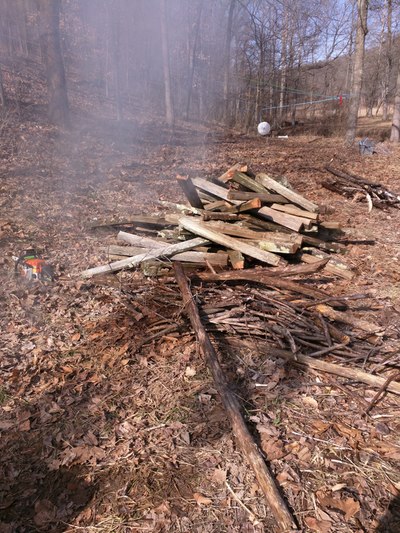
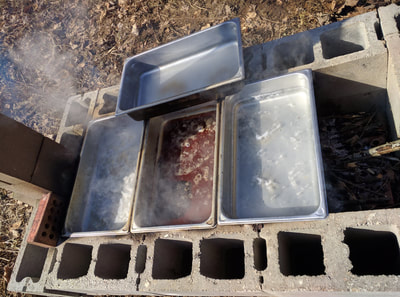
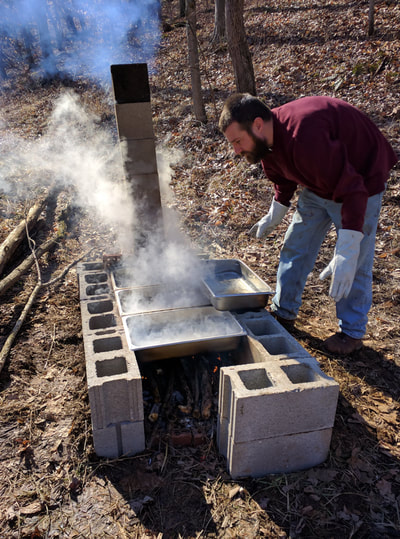
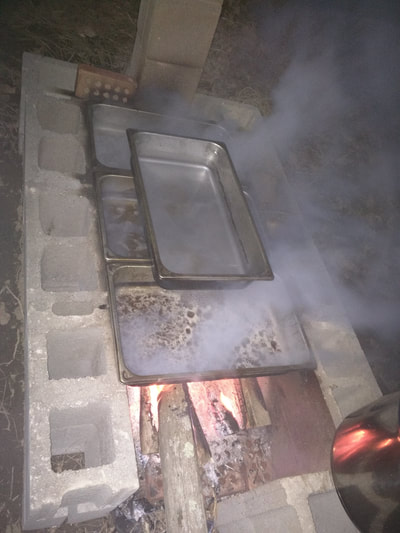
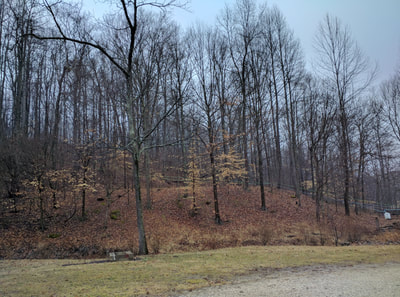
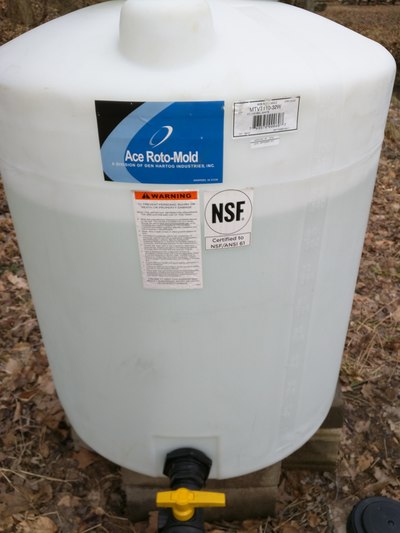
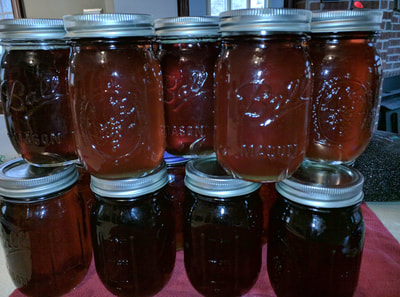
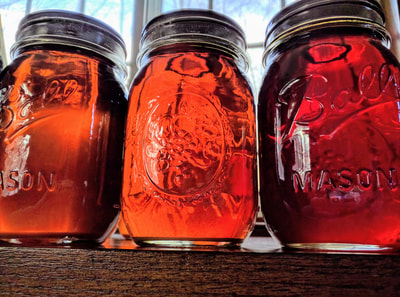
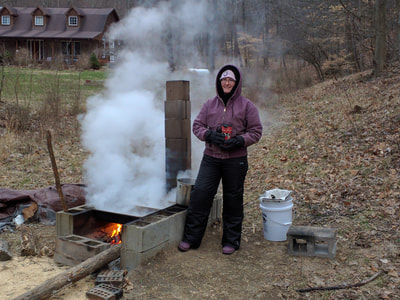
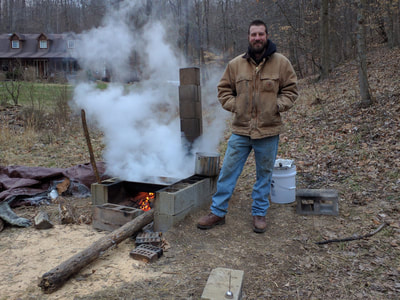
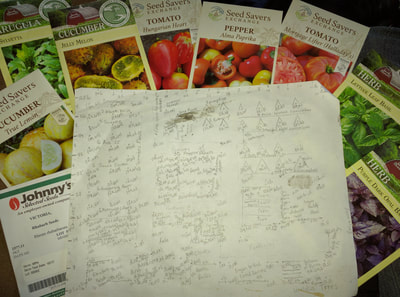
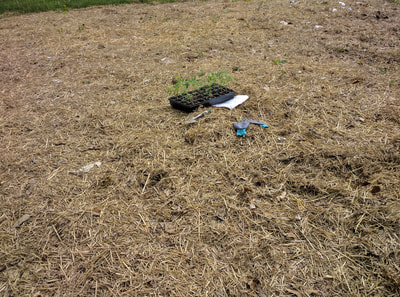
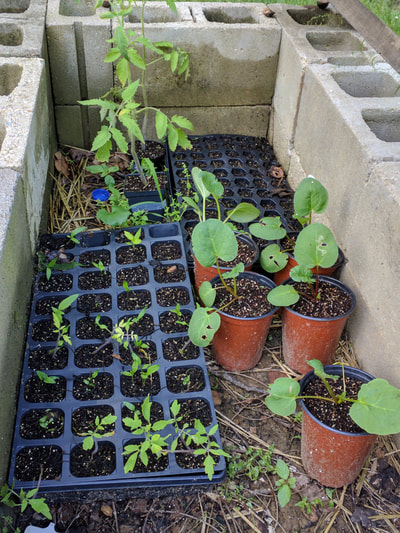
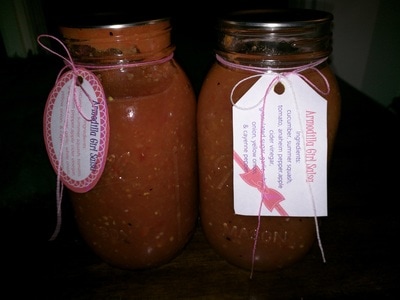
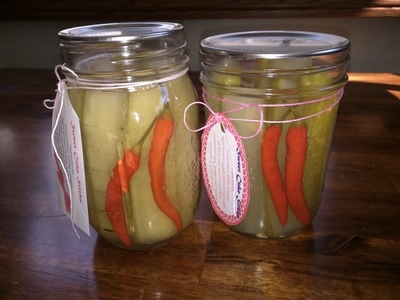
January is not a month that evokes thoughts of preserving local fresh food in most of our country. However, January is a month in which we are consuming quite a bit of preserved foods, as we have less access to quality fresh foods. Now here's where home food preservation comes in for the win! Imagine if you were to preserve your own locally produced foods when it's harvested at peak ripeness then you could consuming quality local food year-round, despite it not being in season. Winner, winner locally produced chicken for dinner! Preserving your own food is not a difficult undertaking. Once you gain knowledge on the topic as well as invest a bit of your time & money into the task, you are well on you way to consuming a rewarding diet of locally produced products year-round. There are loads of ways to learn about the topic of food preservation. We are good at seeking out resources and teaching ourselves when we want to learn about new topics of interest. We also enjoy sharing the resources we have utilized. One of the most comprehensive resources we have used for gaining knowledge regarding preserving our own food is The National Center for Home Food Preservation website. Although, when it comes to canning The Ball® Complete Book of Home Preserving is our most trusted and valued resource. However, we do cherish our entire collection of canning/preserving books along with all of the bookmarks & sticky notes in them. Now, if you are a hands-on learner or would prefer to have a mentor when venturing into new learning experiences we would suggest that you make contact with your local extension office or reach out to a community learning group such as Ladies Homestead Gathering (LHG). Armonda is a member of the Sullivan County Chapter of LHG. She is in the process of working with the board of the Sullivan County Chapter LHG on planning at least one presentation on home food preservation for 2019. Additionally, a "Preserve and Take" workshop is in the works for Fall 2019 as well. However you choose to obtain your knowledge on this subject, doing so is clearly an important and necessary first step that can be super fun and intriguing. Share in the comments if you have any other beloved and trusted resources on home preserving. Time and money. Our family, as most of you will agree, would like to have more of both. Well, the hard truth is we don't. As a result, we treasure the time and money that we do have. In turn, we consciously choose to fund projects with our time and money based on the value and usefulness that each project will bring to our lives. Home preserving has been one project that we continue to fund with our time and money. We hope that you will also see the value in preserving your own food and give it a go too! Once you are ready to commit the time & money to the project, you will need to purchase equipment that you may not already own or have access to. There are a plethora of equipment pieces you may need to purchase which might include a dehydrator, containers for freezing, a smoker, a water bath canner, a pressure canner, glass preserving jars, lids, and bands as well as a couple other tools for water bath and pressure canning. What equipment you choose to purchase truly depends on what type(s) of preserving you intend to implement. If you still are not convinced on committing to spending you hard-earned money, especially on the larger pieces of equipment, you could always ask to borrow or rent the equipment from a family member, friend, or neighbor who already owns the equipment. Additionally, you could even pitch in together with one or more of your like-minded peeps to purchase & share a piece of equipment. It's all about what's going to work best for you and your needs. Now you are ready to put your knowledge and equipment to work for you! Have fun shopping at a farmers market near you and/or growing and harvesting your own food. Using local food is truly the best option when preserving foods. In the end, it is extremely gratifying to preserve and consume the fruits of your labor. Please share with us any of your amazing home preserving recipes. We enjoy hearing from you all! Have fun looking though the slideshow below of the food we preserved in 2018. Almost all of the food in the pictures either we grew or was grown in a surrounding county. We often are asked... "What are you guys going to do in the winter?" In turn, we have been using #itswhatfarmersdointhewinter on Facebook, Twitter, & Instagram to document what we have been doing over the winter. As a result, we hope that it's clear that we don't get to take the winter off. Oh no! There's really no downtime or "vacay" time here on the farm. We have to-do lists that we know someday will at least get smaller but will never disappear. As mentioned in a previous post, we are doers & as such we will always have a to-do list. One big to-do list item, well humongous undertaking, for us was producing maple syrup! First off we researched about maple syrup production for at least a year before deciding to give it a go. One great resource was the book Maple on Tap. We then marked some trees on our northern facing hillside last fall before the leaves were all gone. We decided to start our maple syrup production endeavor on the hillside, because we had determined that we were going to set up a gravity tubing collection system for our sap. Then we spent more time & plenty of money purchasing the tubing, collection tank, supplies to build our evaporator setup, & other necessary pieces to produce our maple syrup. Here's where we got real busy real fast. We follow Indiana Maple Syrup Weekend on Facebook & on February 5th they posted a wonderful video of sap flowing at another Indiana sugarbush location. We were not ready at all to begin collecting sap & knew we were missing out on collecting sap! We immediately went into full gear getting our gravity tubing system set up to collect sap. It took us 3 full days of working 6-8 hours each day to get our tubing system in place & trees tapped before we started collecting sap. Setting up the evaporator came next. We choose to build our evaporator setup to keep our material costs low for this first season. We emulated a rocket stove setup in building our evaporator out of cinder blocks, bricks, & stainless steel steam table pans. Here are some numbers from our first year sugaring: 39 taps Approximately 300 gallons of sap collected Almost 3 gallons of maple syrup produced Approximately 175 hours spent sugaring over 6 weeks: 2/7/18-3/22/18 End result is that we succeeded in successfully making maple syrup this year! Future goals for us, while scaling up our production, will include increasing our number of trees & taps feeding into our collection system, purchasing an evaporator, possibly adding on a second collection tank, & possibly adding a vacuum to our collection system. When you click through the photos below the captions will give you more insight into our sugaring adventure from this year! Seedlings! This year we used the same setup as last year but upstairs in our garage instead of in our bedroom. The biggest reason for the change of location was our cats. Last year they were super interested in the addition of the vertical space that the tables introduced to them as well as the possibility of green things to munch on. In turn, seed starting will not occur in the house ever again. We failed to get actual pictures of the seeds in the garage seed starting area this year. However, here are some photos of our planting area plans, seeds we are using this year, as well as the seedlings in the cold frame & out in the field just prior to being transplanted into the ground. Finally, we shall discuss our efforts in inoculating logs with shiitake mushroom spawn plugs. We have inoculated 36 logs thus far & are waiting for our 2nd batch of spawn plugs to arrive to inoculate more logs. In turn, we are anticipating having 60-70 logs inoculated in total. Additionally, we are thrilled about producing & bringing shiitake mushrooms to the farmer's market starting next spring!
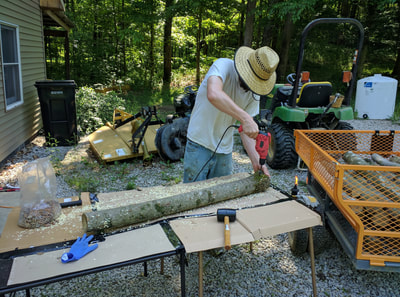
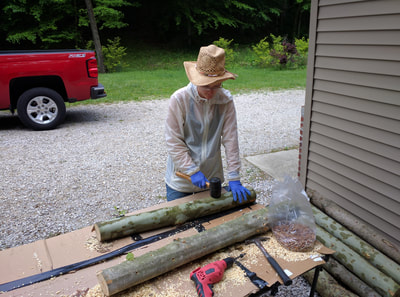
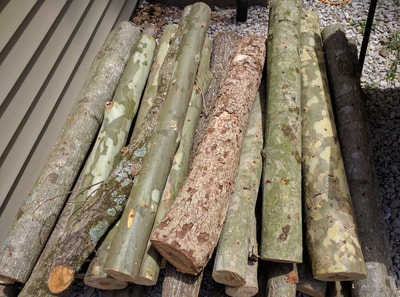
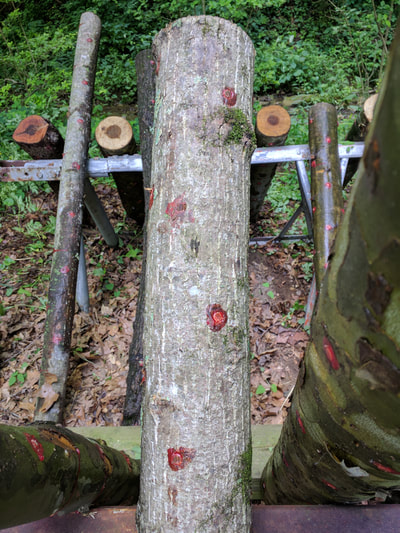
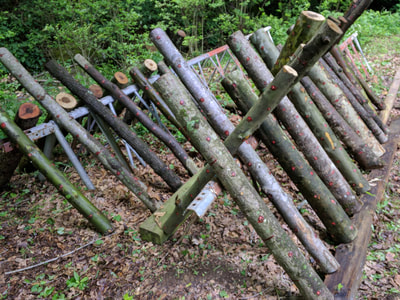
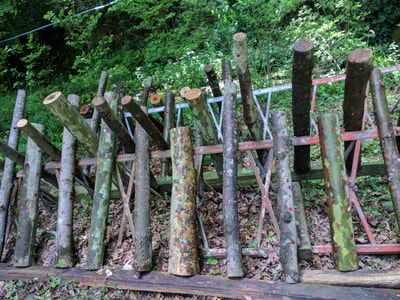
How we got started with our shiitake mushroom cultivation endeavor. In April we participated in a workshop that the Farmer Veteran Coalition of Indiana hosted on cultivating mushrooms. Cultivating mushrooms is part of our agroforestry plan in growing our farm business so we have already determined to cultivate mushrooms. However, attending that workshop spurred us to get going on it ASAP. Additionally, the workshop allowed us to get feedback & first hand information about shiitake mushroom cultivation from other Indiana cultivators as well it gave us resources for the spawn plugs. We also left the workshop with 4 logs that we inoculated at the workshop. It was an extremely impactful day! For our on-farm inoculating process Ben cut down some trees for us to inoculate from our forested area that we are working on developing into silvopasture. Yeah for forest management! We ordered our spawn plugs from Field & Forest Products. We spent 4 hours inoculating our initial 36 logs. We have another order for more spawn plugs arriving tomorrow & then we'll complete our 2nd round of log inoculations ASAP. If you are interested in learning more about log-based shiitake cultivation check out this PDF from SARE (Sustainable Agriculture Research & Education). Otherwise, have fun browsing our photo gallery below for more information on how we inoculated our logs with shiitake spawn plugs. The process of determining our farms name took us about three weeks of meaningful thought & discussion as well as Googling our potential name options to ensure that they were not already taken. Ben brought up the idea of Four Flags Farm. His thought was that we as a couple embody what these flags symbolize. The four flags we feel connected to are the flag of the United States of America, the flag of Indiana, the flag of the United States Air Force, & the flag of Purdue University. These flags evoke within us a sense of pride in how what they symbolize to us have shaped us into the individuals that we are today. Armonda took on the task of creating our logo. We both agreed that the logo should indeed have four flags on it, representing us. However, we could not use the flags we revere for many reasons but primarily because the Four Flags Farm logo should represent and identify Four Flags Farm. As a result, we determined that our flags would contain pictures of what is produced on our farm because that will reflect our farms identity. Our logo represents what we produce on our farm. We intend to use this logo & update the photos in the flags throughout the year with photos of what is being produced on our farm. It's going be a living logo! We will share this living logo as frequently as possible through social media. It will be our way of communicating what we will be bringing to the farmers markets & what activities are occurring on the farm. Here is our black & white version of our logo mainly for our business cards, egg cartoons, & product labels.
We are very proud of how much the business has grown over the last 11 months. Additionally, we hope that you have enjoyed this introduction to our logo. Look forward to seeing it a whole lot more very soon! Well we have been up & down while being forwards & backwards amidst going left & right. In turn, we've really have been all over the place over the last eight months! However, in the end it's all good! Here's some of the highlights of our past eight months back in Indiana. We started our farm business in April. Our no-till farm field this year was just a bit over 1/16th of an acre, roughly 2,500 square feet. It hasn't been as fruitful as we had hoped this year due to numerous possible factors. However, we have begun adding on to the field already for next years growing season with the anticipation that we will be growing on 1/8th of an acre. We have been able to setup & sell our produce & baked levain products at a total of 33 farmers markets this season! Additionally, we have begun clearing pathways for easier access to our back acres. These paths will enable us to begin thinning some trees out over the winter. In turn, we can work on fencing in areas so we can have goats & sheep on the farm in the next couple years! Our plan for the upcoming winter months, in addition to loads of home improvement projects, is to further educate ourselves on beekeeping & maple syrup production. With that being said we attended The Beekeepers of Indiana Fall Beekeeping School last Saturday to assist in growing our knowledge of beekeeping! We plan on adding bees & thus harvesting honey as well as collecting sap from our sugar maple trees & producing maple syrup as early as next year! One of our biggest accomplishments in the last two months has been building our chicken coop and getting our chickens! We searched online, bought a book, & mulled over many designs. Ultimately, this DIY Chicken Tractor Plan is what we chose to emulate. Here's a couple reasons we choose this coop design in particular. First off, we like that this coop is on wheels & thus off the ground & portable. Secondly, the open bottom, chicken wire floor, allows the chickens droppings to fall to the ground for fertilizer thus helping maintain a cleaner coop in the warmer months as well as assists in keeping the hens healthy. Lastly, it's the perfect size for the amount of hens we anticipated & now have. If you are ever entertaining the idea to build your own chicken coop, please consider following the plans that we based our coop off of, or you could use our plans! Here are the supplies that we used in building our coop:
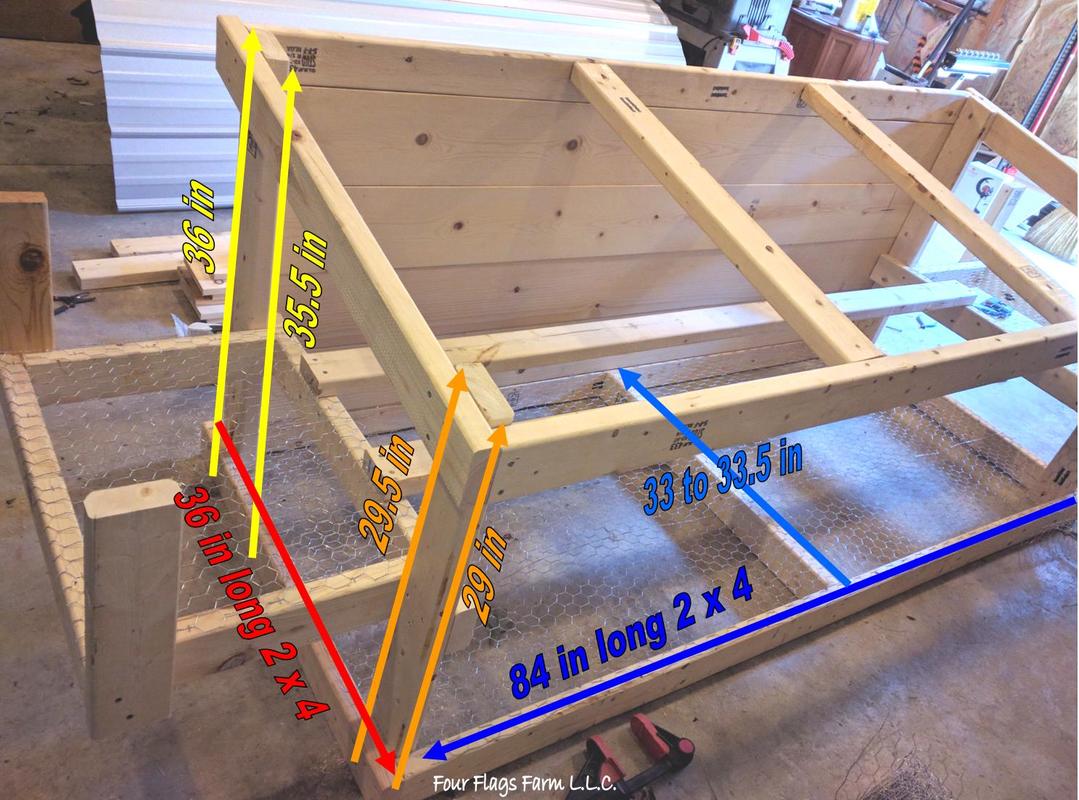
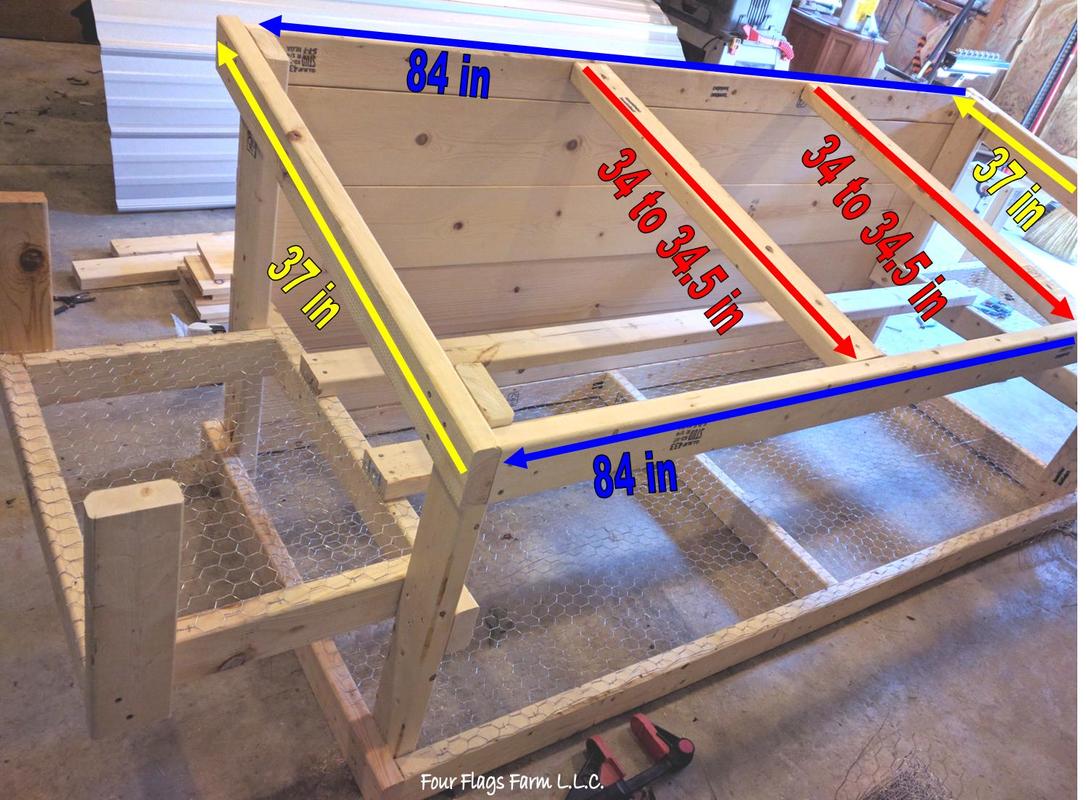
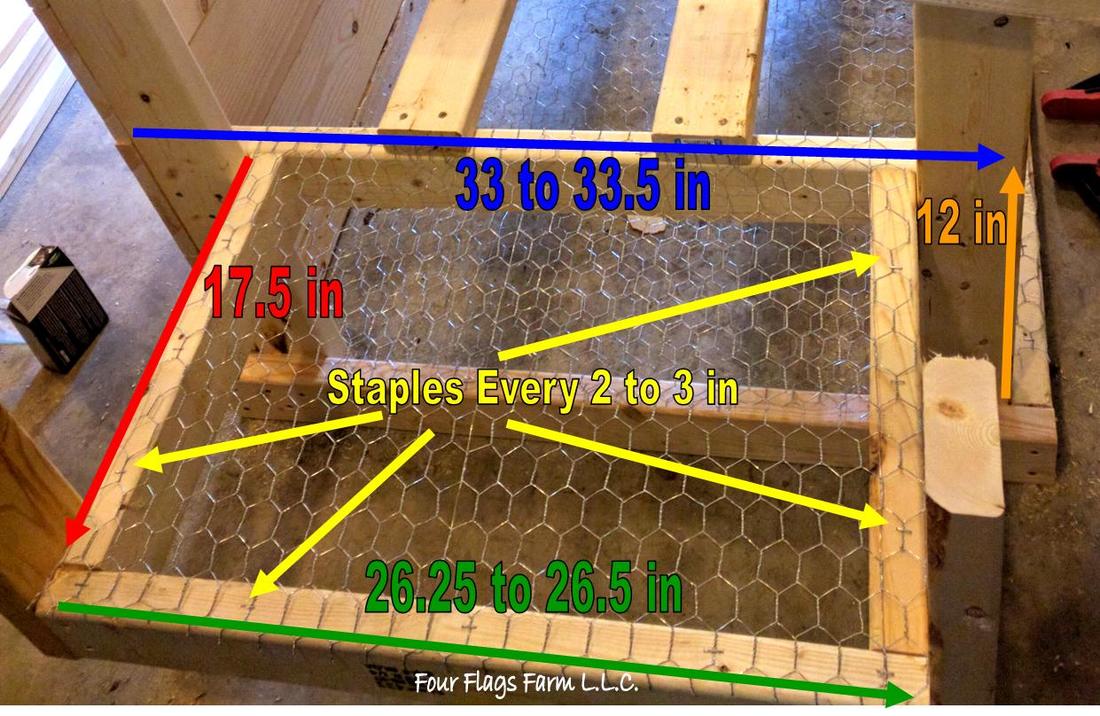
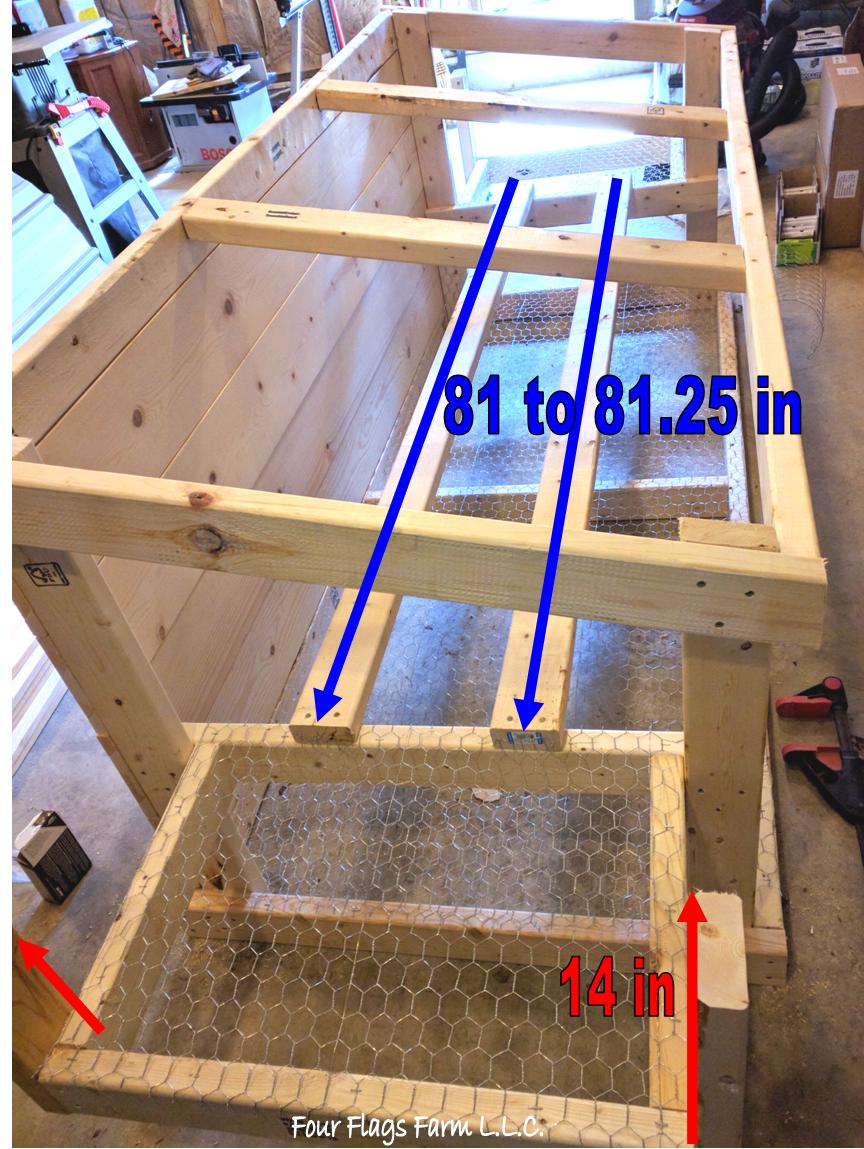
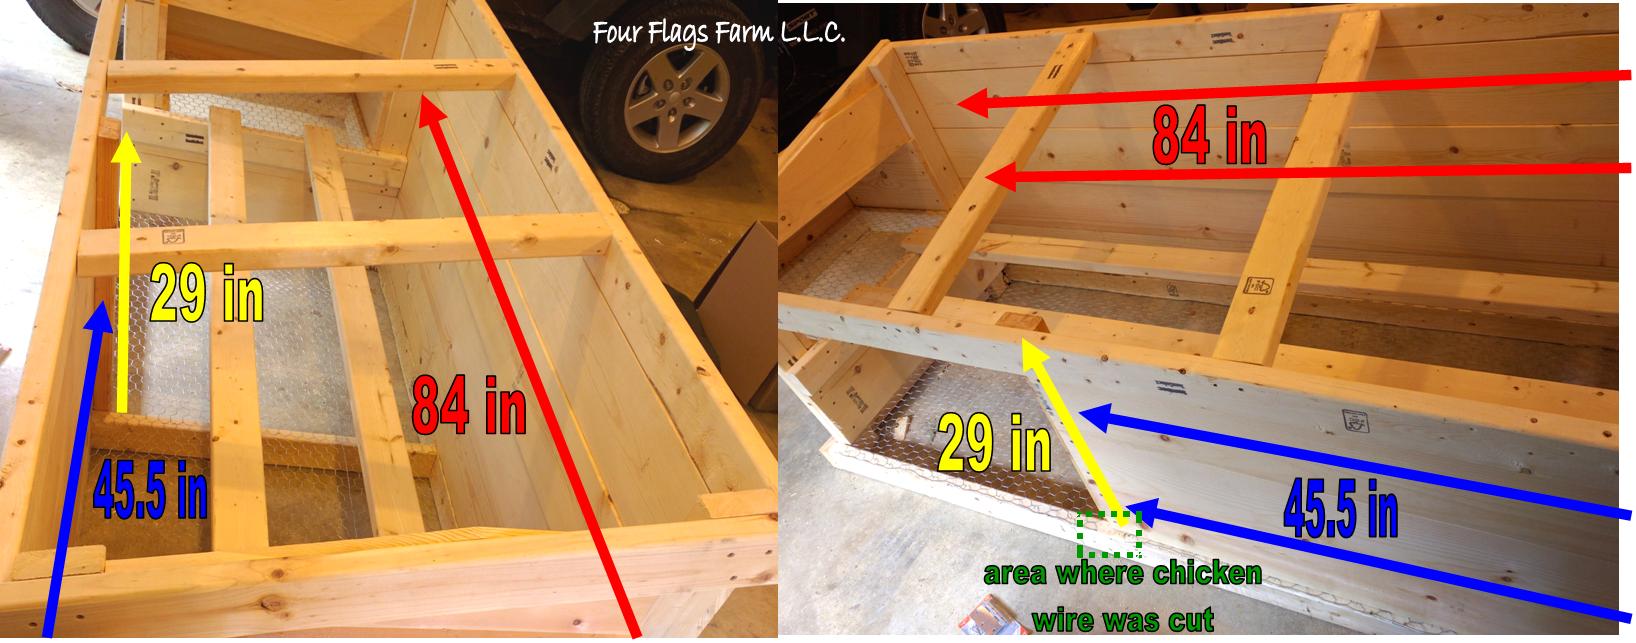
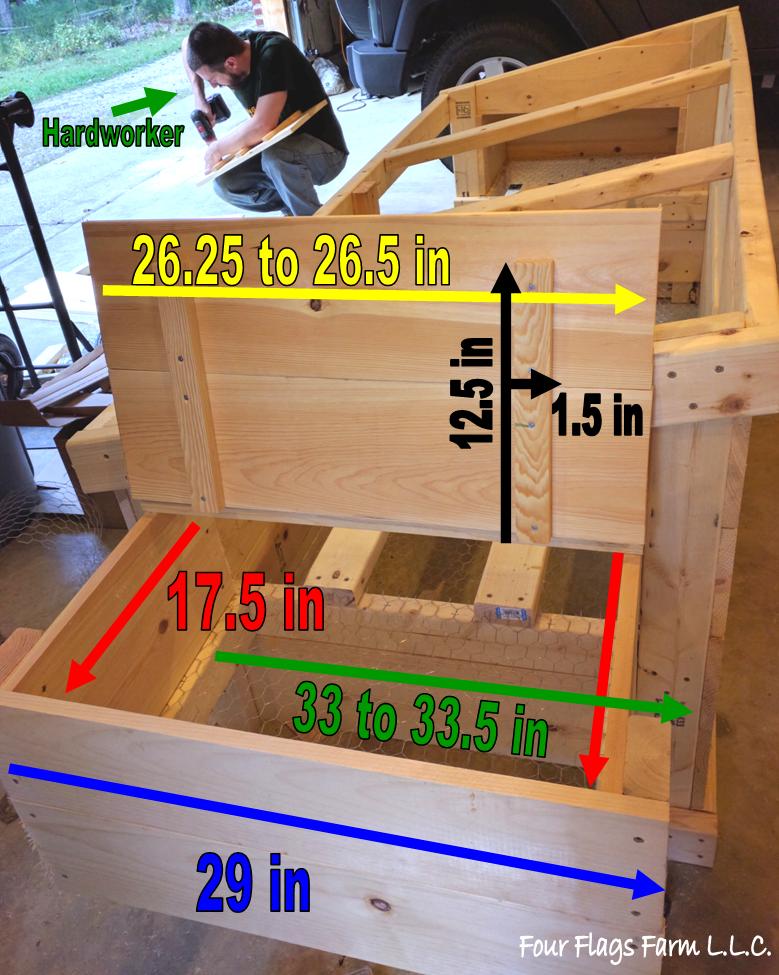
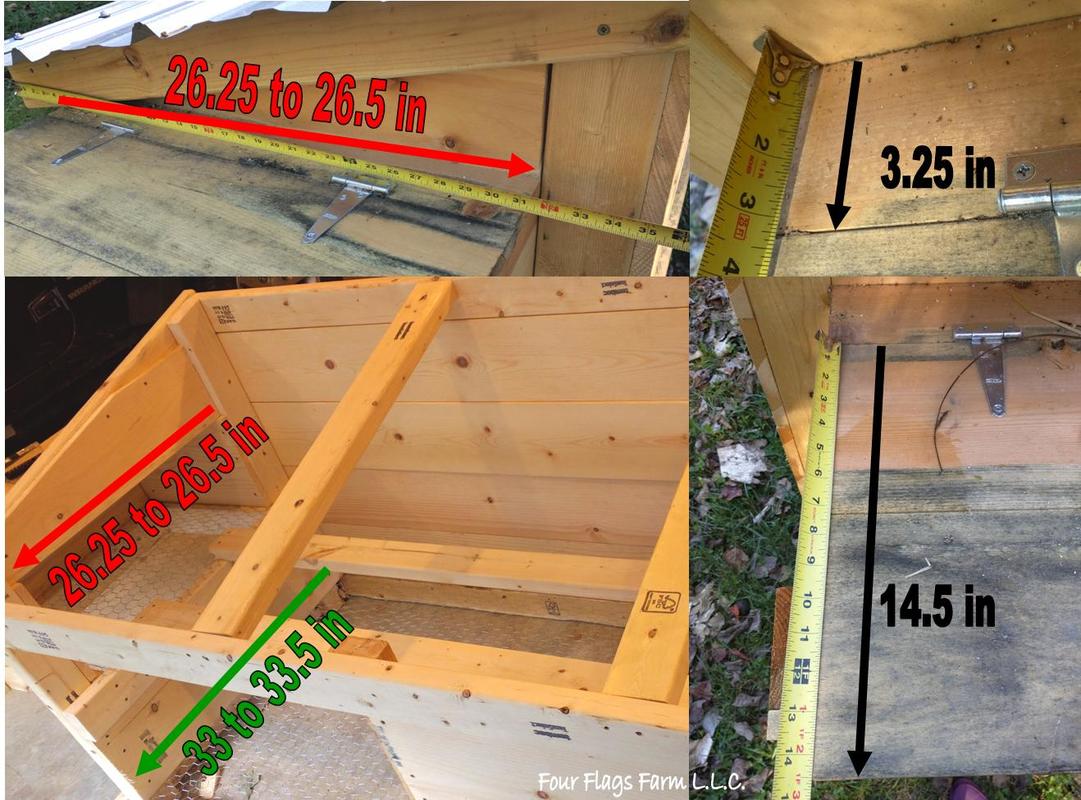
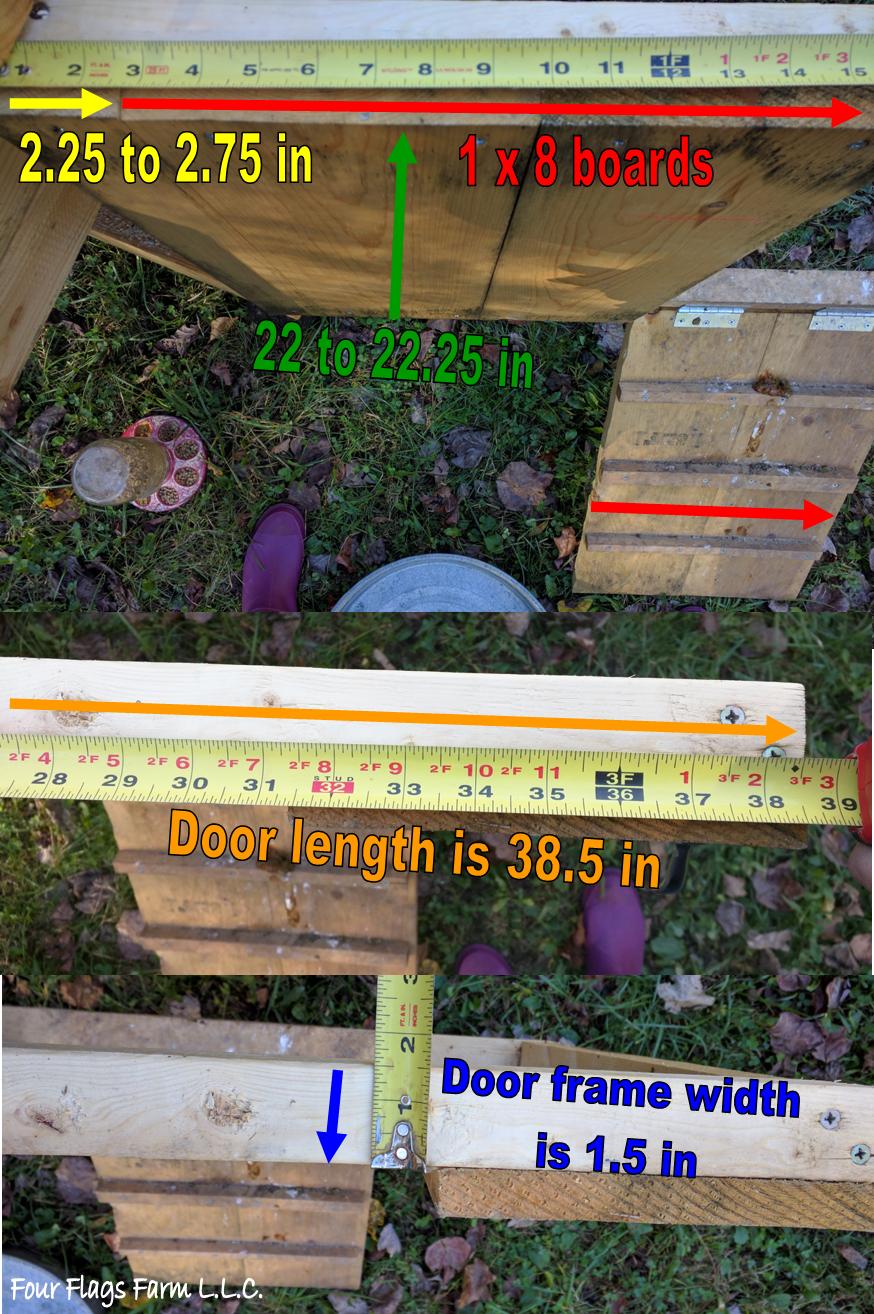
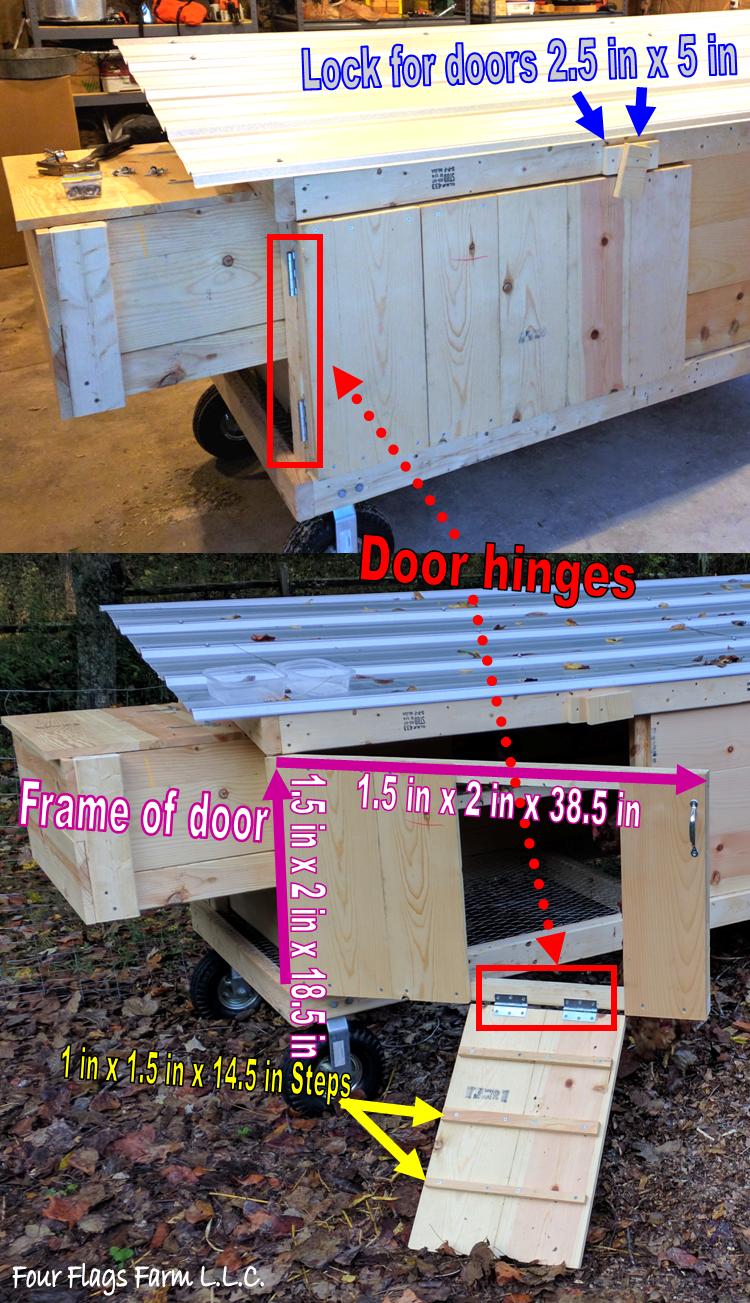
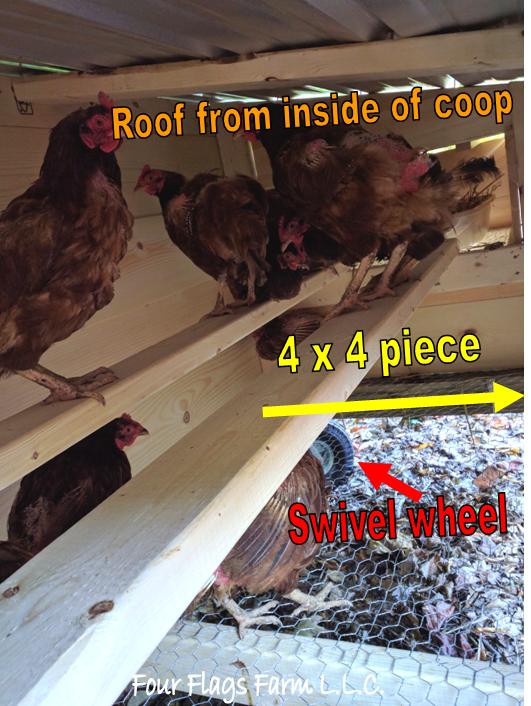
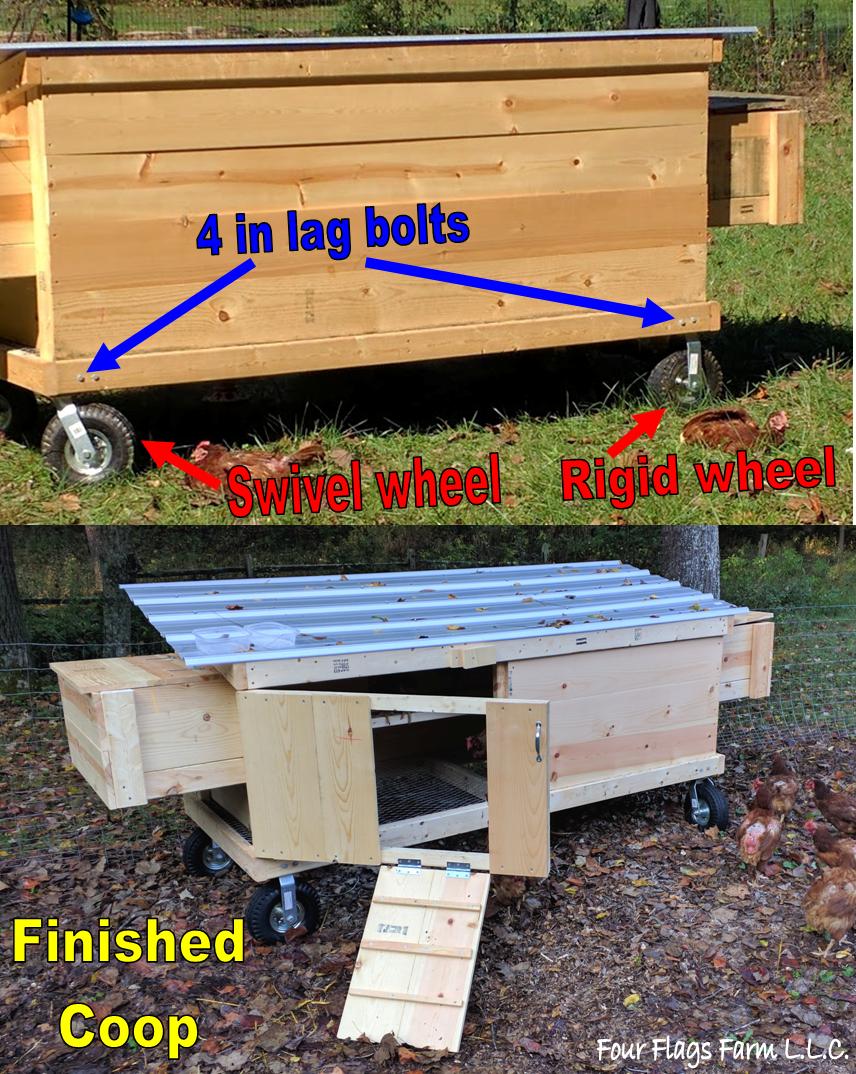
Step 1. Building bottom frame of the chicken coop. Cut 2 x 4's to build the frame of the coop that measures 3 ft x 7 ft. You'll need two pieces measuring 36 in, 3 ft, & two pieces measuring 84 in, 7 ft. Assemble the bottom four 2 x 4's using two of the 2 1/2 inch long deck screws at each corner. Additionally, you'll need to measure the width between the two 84 in long boards once the four frame boards are screwed in place to determine the length of the middle support board. This length should be between 33 to 33.5 inches. Once you've cut the board to length screw it between the two 84 in long boards in the middle of the frame using two of the deck screws at each end. Step 2. Measure, cut, & add the four corner supports. Since this coop has a slopped roof you'll need two longer pieces measuring 36 in, 3 feet, & angling down to 35.5 inches & two shorter pieces measuring 29.5 in then angling down to 29 in. Secure these four corner post to the inside of the bottom frame 2 x 4's using the deck screws. The following photo outlines the boards listed in step 1 & 2. Step 3. Cut two 2 X 4 boards that are 84 in in length & two that are 37 in long. These are the top outside frame boards. Screw these boards to the top of the corner frame boards using two deck screws at each corner. Step 4. Measure the width between the top two 81 inch long boards. It will measure between 34 to 34.5 in. Cut two 2 x 4 board pieces to this length. Attach them 1/3 & 2/3rd's lengthwise down the 81 in boards on the top frame. The following photo outlines the boards listed in steps 3 & 4. Step 5. Start building nesting boxes. Measure the length from one corner frame post to the end of the other corner frame post at the end of the coop & repeat making this measurement for the other end of the chicken coop. Your measurement should be between 33 to 33.25 in long. Cut two 2 x 4 pieces to your measured lengths for each end of the coop. Secure these two pieces to the inside of the end corner posts so that the top of the 33 to 33.25 in long boards are 12 in from the tops of the bottom frame boards. Additionally, cut four 2 x 4 board pieces measuring 17.5 inches long. Secure these two pieces to the boards you just screwed down to the corner posts. Lastly, for this step you need to measure the length horizontally between the two 17.5 in boards you just attached. This length should be between 26.25 to 26.5 in. You'll need to cut two more 2 x 4's to this length. Once you attach those two boards, one to each end of each nesting box, with the deck screws you're finished with this step! Step 6. Adding poultry netting (a.k.a. chicken wire or chicken fencing). We stretched the chicken wire out on top of the 2 x 4's making up the bottom on the chicken coop frame. Thankfully the chicken wire was already 3 feet wide so we didn't have to cut two of the four sides on the floor of the coop. We cut the chicken wire to length using the wire cutter we have. We stapled the wire in place, stapling every 2-3 in, using the 3/8 in long staples. Additionally, we cut & stapled the chicken wire to the tops of the bottom frames for the nesting boxes. The following photo outlines the boards & chicken wire stapling listed in steps 5 & 6. Step 7. Adding the side supports to the nesting boxes. Cut four 2 x 4 board pieces 14 in long. Using two screws per 14 in piece secure these support posts to the outside sides of the nesting boxes. Step 8. Adding roosting bars. Measure the length from the inside of the bottom frames on the nest boxes. This length should be between 78.25 to 78.5 in. Cut two 2 x 4 board pieces to the measured length. Secure these roosting bar pieces to the tops of the bottom boards of the nesting boxes using two screws per piece per end. The following photo outlines the boards attached in steps 7 & 8. Step 9. Congratulations you've finished the chicken coop frame! Now time to add the siding. Measure the length from one of the long vertical corner posts to the other. This measurement should be 84 in. You'll need to cut four 1 x 6 boards 84 in long. These four boards will be attached on the back, the side with the long vertical posts, to the corner frame posts using two deck screws for each end of the boards. Step 10. Siding the front of the coop. Since this is the side with the door on it you only have to put siding on the area where the door doesn't cover. You'll need to measure the vertical length between the top & bottom of the front 2 x 4 frame. This length should be roughly 29 in. Cut out one 2 x 4 board to this length. This vertical, door opening, board goes flush against the middle framing board on the bottom of the coop. You will need to trim a bit of chicken wire with the wire cutters on the bottom to attach this board to the bottom frame board. Secure this board vertically between the top & bottom front 2 x 4 frame on the back of those boards with deck screws. This is where the pictures really come in handy to clear up what needs to happen. Now you'll need to measure the longest length between the vertical board you just installed & the vertical framing boards. This length should be close to 45.5 in. You'll need to cut three of the 1 x 8 boards to this length. Secure these three boards horizontally with deck screws to the vertical end frame board & the vertical door opening board. The following photos outline the boards & chicken wire stapling listed in steps 9 & 10. Step 11. Siding the ends of the chicken coop & nesting boxes. Again, the pictures are going to be extremely useful in determining how these steps are constructed. Additionally, please be sure to measure all of the openings on your coop prior to marking & cutting your boards to ensure your boards are cut to fit your coop. You'll need eight total of the 1 x 8 boards, four for each nesting box, cut to a length of 17.5 in for the sides of the nesting boxes. These boards are secured to the nesting box frame from the inside of the boxes using the deck screws. You'll need four of the 1 x 8 boards, two for each nesting box, cut to a length of 29 in for the end pieces on the nesting boxes. These boards are secured to the nesting box frame from the outside of the boxes using the deck screws. Now for siding the ends of the chicken coop you'll need for under the nesting boxes two pieces of 1 x 8 cut to a length of 33 to 33.5 in. You will also need two pieces of 1 x 8 that are 33 to 33.5 in long but trimmed down to a width of 1.25 to 1.5 in. The last pieces to cut & attach are the 26.25 to 26.5 in long top siding board pieces. It's best to cut this 1 x 8 board to length & then dry fit the board in place which then allows you to mark the angle to be cut. Once you cut the angle on this piece the board is ready to be screwed in place using the deck screws from the inside of the chicken coop. Step 12. Building & attaching the nesting box lids. Cut a 1 x 8 board to 26.25 to 26.5 in, be sure to measure your opening to get a precise fit. You'll then cut this board in half. You'll attach one of the 3.25 in pieces to each of the nesting boxes at where the boxes meet the siding. You'll then need to build & attach the lids of the nesting boxes. The lids to the nesting boxes are comprised of two 1 x 8 boards cut to the 26.25 to 26.5 in length. These boards are fastened together with a cross piece of 1 x 8 that has been cut to 1.5 in wide & 12.5 in long & three deck screws. Using the gate hinges attach the two doors that you've built to the nesting boxes as shown in the photos below. The following photos show what was completed in steps 11 & 12. Step 13. Onward & upward to building the coop doors! For the door frame you'll need to cut two pieces that are 1.5 in wide, 2 in high, & 38.5 in long & two pieces that are 1.5 in wide, 2 in high, & 18.5 in long. Secure together these four frame pieces using deck screws. You'll then work on assembling the door from the right to the left. The first board to attach to the door is a 1 x 8 board that has been cut to a length of 22 to 22.25 in, measure to get your exact board length prior to cutting. Attach this board to the far right of the door frame so that is is flush with the door frame using deck screws at the top & bottom of the board. Add the door handle to this piece of board. Additionally, you'll then need to cut five more 1 x 8 pieces to the same length as the first piece you just cut. Next, we're going to build the drop down door ramp for the chickens to easily enter & exit the coop without the big coop door being open. You'll be using 2 of the 1 x 8 pieces you just cut to length & you'll need to cut 3 step pieces that are 1 in high, 1.5 in wide, & 14.5 in long. Attach the 3 step pieces to the two 1 x 8 board pieces using the deck screws as shown in the photos below. Now you can attach the drop down door ramp to the coop door frame. You'll need to use the two 3 in square hinges & deck screws to attach the drop down door ramp to the coop at the bottom of the door frame. Taking two of the the remaining three 1 x 8 pieces that you cut to the length of 22 to 22.5 in attach them next to the drop down door ramp on the coop door frame using deck screws. Lastly, you'll need to measure the space left from the door frame to the last 1 x 8 piece you attached to the coop door frame. This space should be between 2.25 to 2.75 in. You'll need to cut your last a 1 x 8 board that was cut to length & cut it to match your measured width. Attach this last board to the coop door using deck screws. Step 14. Attaching the coop door & adding the lock. Using the 3 1/2 in square hinges & deck screws to attach the coop door to the coop on the left side of the door frame. It's easiest to do this with two people & with the coop laying with it's back on the ground. Additionally, make sure the door is level when attaching it or you'll have problems opening & closing the door. We used two pieces of wood to fashion a lock for the coop door. You could choose to use a hasp & padlock, bolt lock, or whatever suits your fancy & we did discuss these as options. However, we decided to use wood since we had plenty on hand & this lock is plenty easy to construct! You'll need to cut two pieces of the leftover 1 x 8 boards to measure a length of 5 in & a width of 2.5 in. Using two deck screws attach on the the pieces to the frame of the chicken coop so that it is centered between the first & second boards on the door to the coop. You'll then use one deck screw to attach the second piece to the middle of the first lock piece that you just attached to the coop. Only attaching it with one screw will allow it to turn & thus become the lock for the coop door! The following photos show what was completed in steps 13 & 14. Step 15. Adding the wheels. First of all, we want to apologize for not having any photos of the wheels being installed. It was a two person job & we were so ready to get the coop finished that we forgot to take pictures of our process. To get started you will need to turn the coop upside down. Once this is done then you'll need to cut the 4 x 4 into two 3 foot long pieces. You will then attach the two 4 x 4 pieces of lumber inside the ends of the bottom frame of the coop using the eight 4 in long lag bolts, two lag bolts for each end of each piece. Next you will attach the wheels to the two 4 x 4 pieces using the sixteen 3 in long lag bolts & 1 in washers. Be sure to put the two rigid wheels on one end & the two swivel wheels on the other end so you can steer the coop using these wheels. Once those are all attached you can turn the coop back over so that it is resting on the wheels. Step 16. The final step which is to add the roof! This was by far the easiest step. Place the sheet metal roof panel on top of the coop so that it covers the coop evenly. Attach the roof to the chicken coop frame using the sheet metal screws. Voilà! Project complete! The following photos show what was completed in the final steps of the chicken coop construction! This project took us roughly two weeks working around 1 to 1.5 hours per day in the evenings to build. In turn, it probably took us 20-22 hours to build. It was completely worth the money, time, & effort it took to build this coop. We intend make use of this coop for many years for housing our hens!
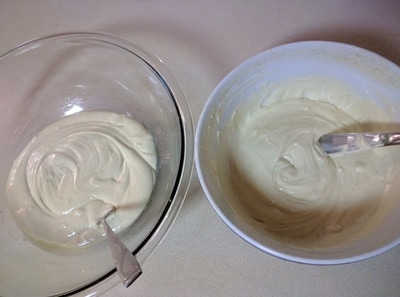
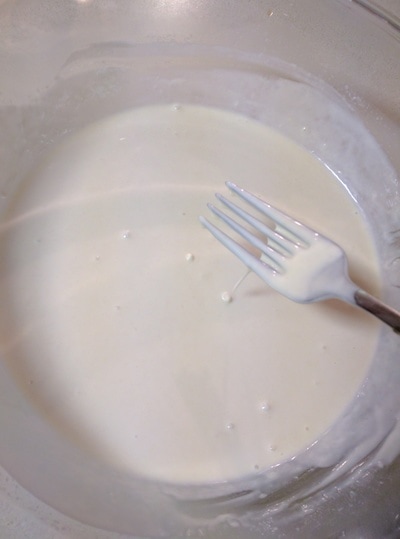
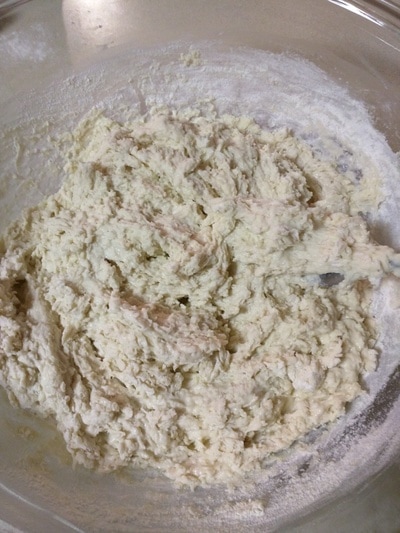
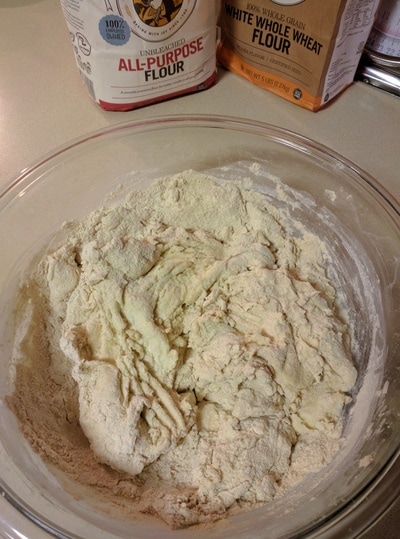
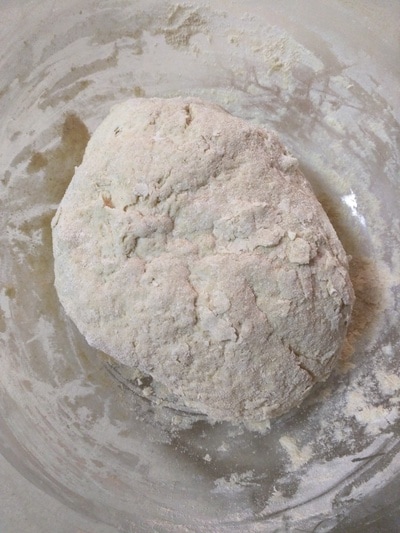
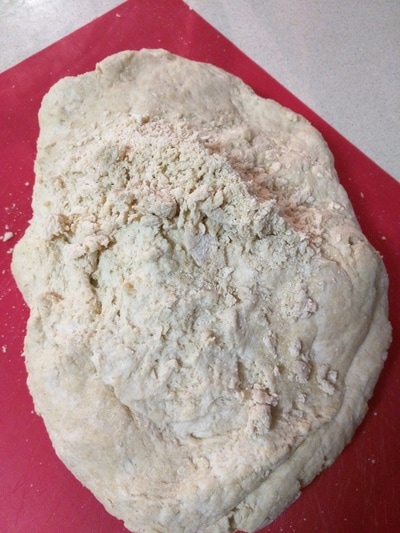
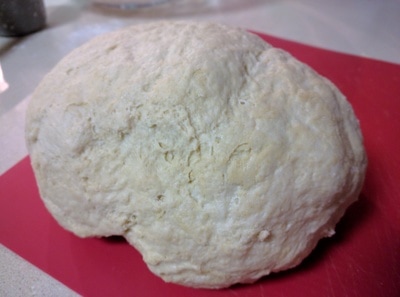
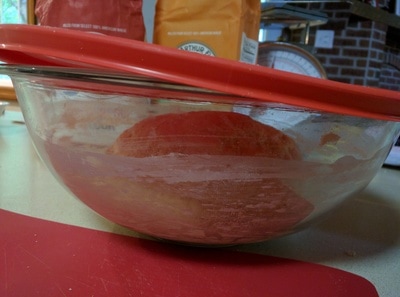
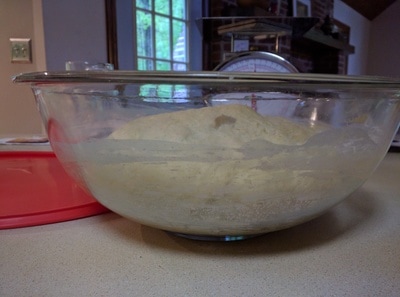
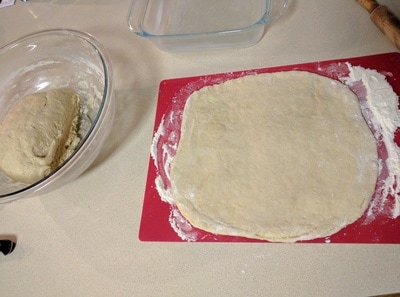
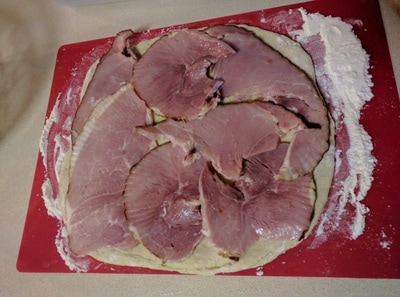
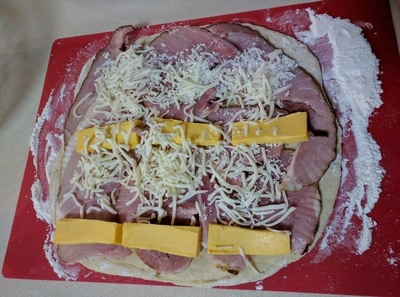
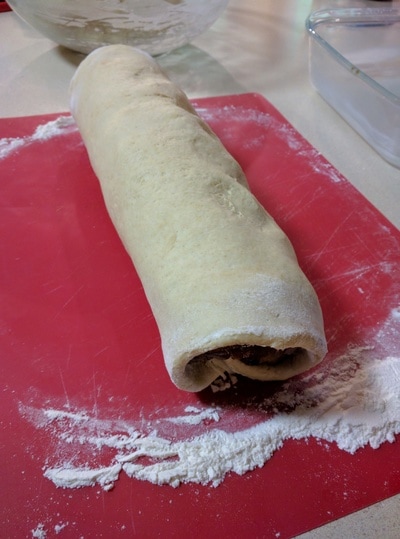
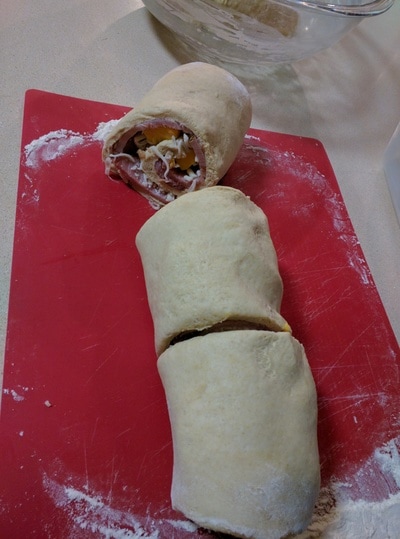
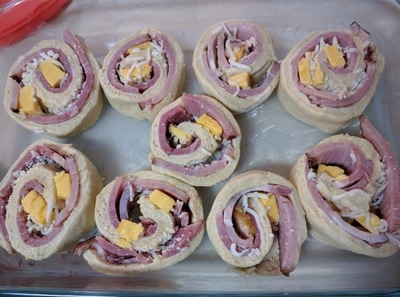
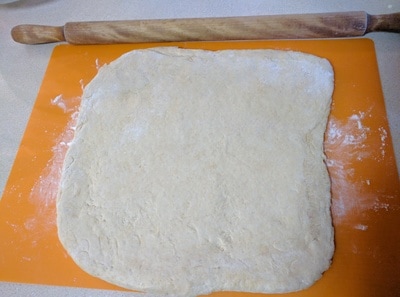
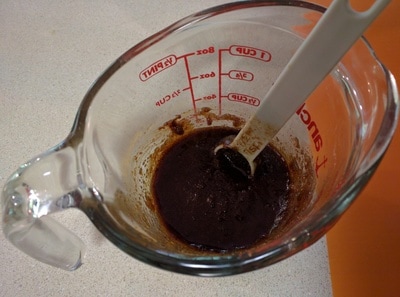
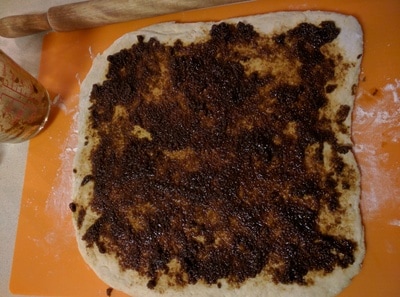
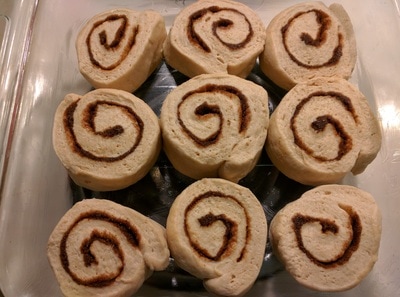
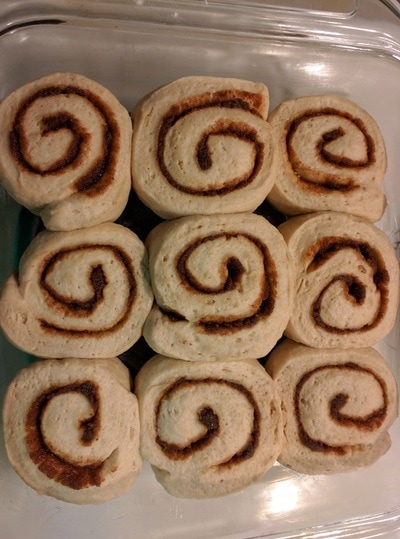
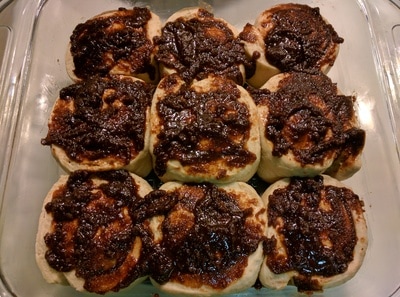
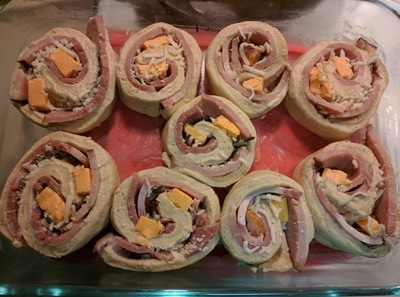
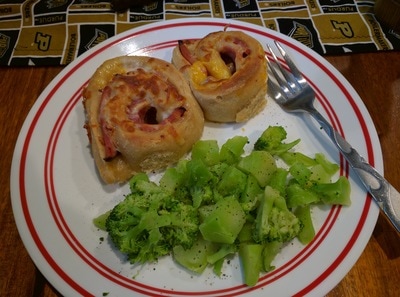
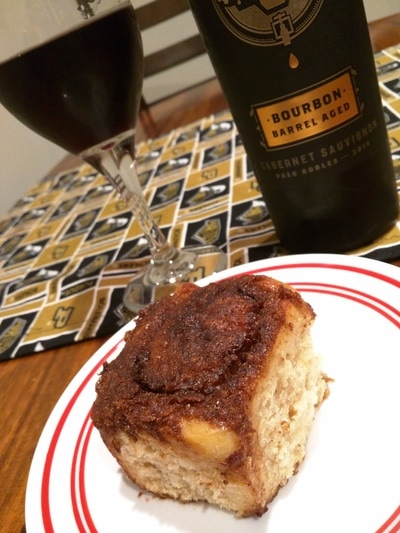
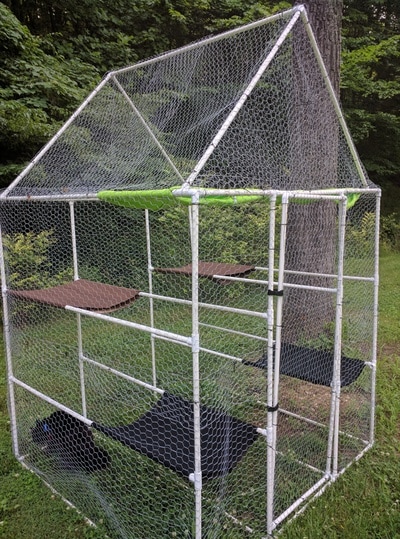
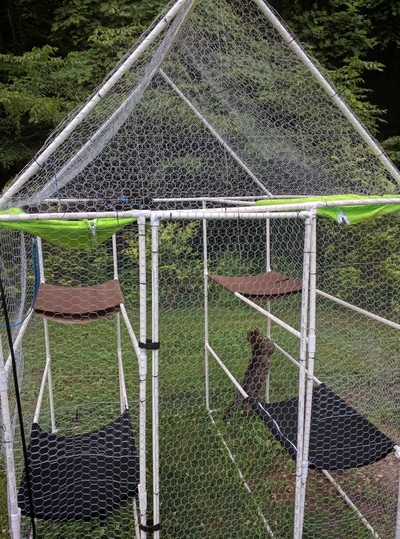
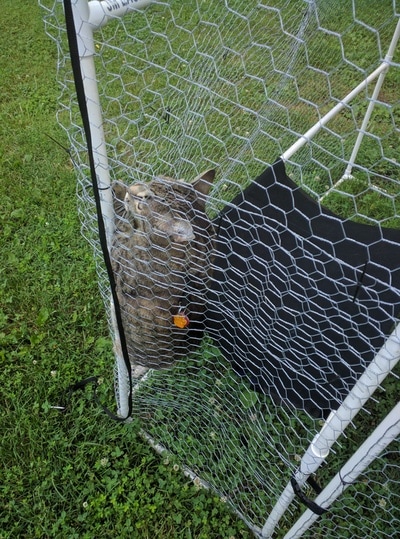
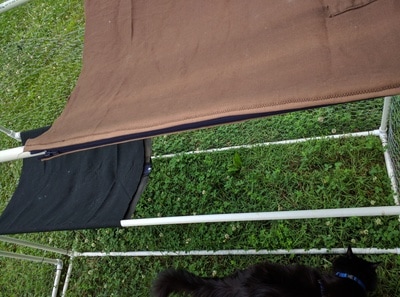
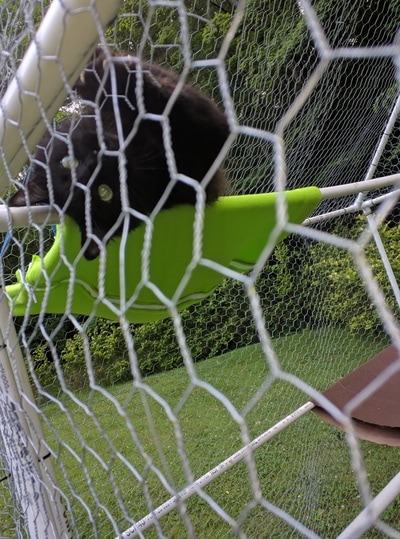
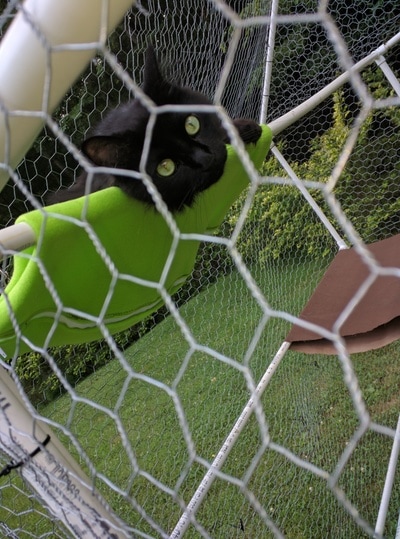
We hope that you have enjoyed reading about our adventures over the last eight months back in Indiana & exploring how we built our chicken coop! Until next time we wish you peace, love, & sunshine always from Four Flags Farm! We are doers! That's that & there is nothing we can do to change it! We struggle knowing that we would benefit from taking time off from our projects. However, we're terrible at allowing ourselves downtime away from our projects & if we're being truthful with ourselves we really don't want to take time off. Accomplishing & crossing a project off our to-do list it so fulfilling for us! We have to-do lists for EVERYTHING including our house, property, business, & personal projects. It's got to a point now that we have started using Trello to help us organize & prioritize all of our projects on our to-do lists! My oh my we're crazies, but we wouldn't have it any other way! In turn, this will no doubt be our longest blog post to date as we set ourselves a goal at the end of our last blog post to write about our seeding starting process, a sourdough recipe, & the kitty hut project. Our seed starting process is pretty basic in the realm of seed starting. This year we used three different soils/seed starting materials. We used Ferry Morse Organic Seed Starter Mix, Burpee Organic Seed Starting Mix , & Burpee Eco-Friendly Organic Concentrated Seed Starting Mix. Truly it wasn't intentional picking out & using the different soils but we're glad it happened. I, Armonda, now know which I prefer & will be using for future seed starting projects. I prefer the Burpee Eco-Friendly Organic Concentrated Seed Starting Mix. It was the most cost friendly of the three products per amount of product. It was the best at retaining water & soaking in the water. The first product we used, Ferry Morse, didn't allow the water to sink in very well. When we watered the plants the water would sit on top of the soil for a minute or would erode a portion of the soil where the water would finally go into the soil. After a quick google of "water not soaking into seed starting soil" the first link that showed up listed the Ferry Morse product that we used. Apparently the peat moss in that product causes this issue to occur. The Burpee Organic Seed Starting Mix was a good product & according to the ingredients list I could find on them both of the Burpee products have the same ingredients. However, the Burpee Organic Seed Starting Mix is premixed with water & is $1.00 more expensive. I spent maybe 2 minutes moistening the Burpee Eco-Friendly Organic Concentrated Seed Starting Mix & saved myself $1.00. So, if you want to buy something pre-made ready to put in a pot for seed starting I would suggest Burpee Organic Seed Starting Mix . Again though, I prefer the Burpee Eco-Friendly Organic Concentrated Seed Starting Mix. Moving on to our next topic.... sourdough recipe & background on sourdough in general. I, Armonda, have been maintaining a sourdough starter, a levain, for the last 15 months. I use my levain to make everything I can. I have not purchased a loaf of bread form a store since I started my levain. I used this how-to to start my levain. If you want to try making your own bread I would highly suggest using a levain. Otherwise, you'll have to keep purchasing yeast as a leavening ingredient. I take great pride in knowing that I have control over & have created this integral ingredient. I'm not going to go into any potential health benefits of making & consuming your own levain leavened bread but google it if you want to as there are a great number of articles on this topic. I did find this article a good read on the history & some potential health benefits of slow, long fermented bread. Okay, now on to the recipe... The recipe I picked to share with you is a two-for-one recipe! I use this sourdough cinnamon roll recipe as the base of my two-for-one dinner & dessert recipe. I made ham & cheese pinwheels for dinner & cinnamon rolls for dessert. Now I admit that I have a real problem with following the recipe directions. I feel the need to make any recipe my own & thus change something about the recipe every time I try & use a new recipe. In turn, the picture gallery below will guide you through my recipes for the two-for-one ham & cheese pinwheels dinner & sourdough cinnamon rolls dessert! Also, I envision these as great menu items for brunch! Yeah buddy! Last topic for this post is the kitty hut that we built for our cats. It took the most work but will have the least amount of details presented of any of the topics we have discussed in this post. In turn, if you want a parts list to build your own kitty hut just email us. Otherwise, the overview on the kitty is that it's made of a PVC frame with poultry fencing surrounding it everywhere but on the bottom where it rests on the grass. We also constructed & installed removable cloth shelves, so they can be laundered, for the cats lounging pleasure! As you can see from the photos our feline kids are enjoying their kitty hut!
Our lives have changed so much in the last 5 months since our last blog post. To start with our 2016 growing season with a total of 20 weeks of production was our best producing season yet!
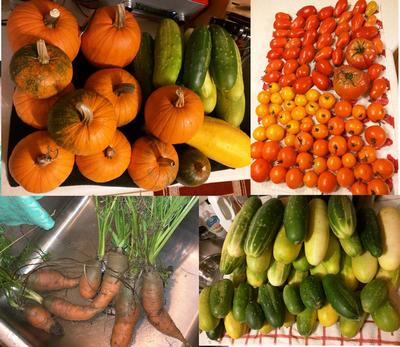
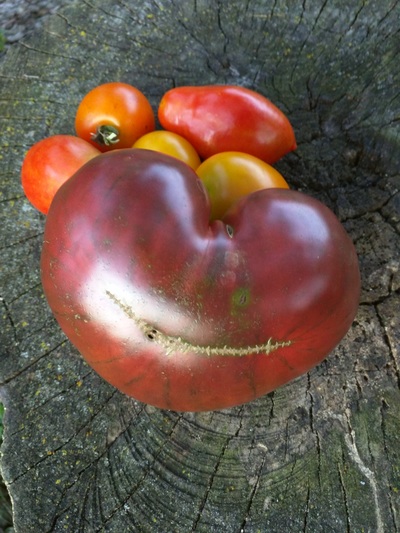
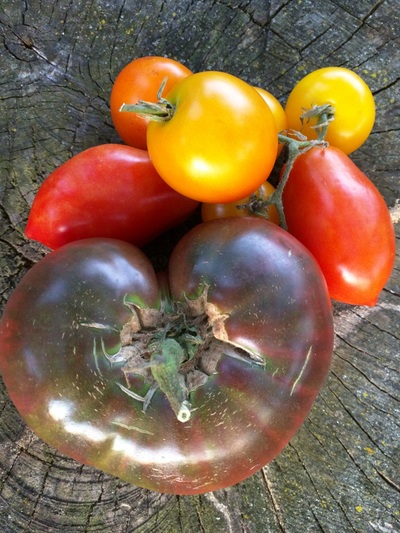
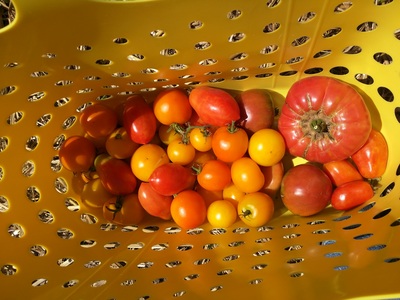
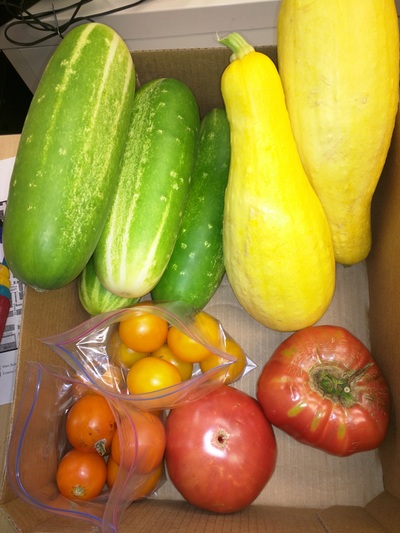
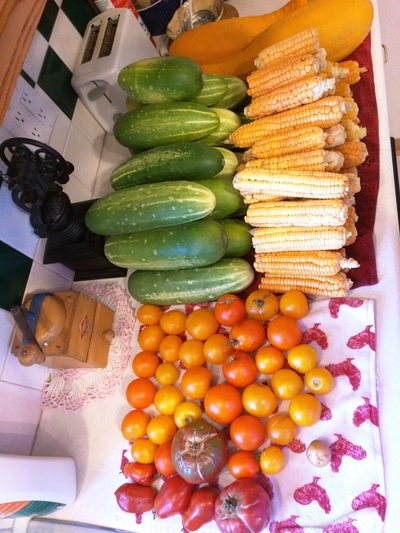
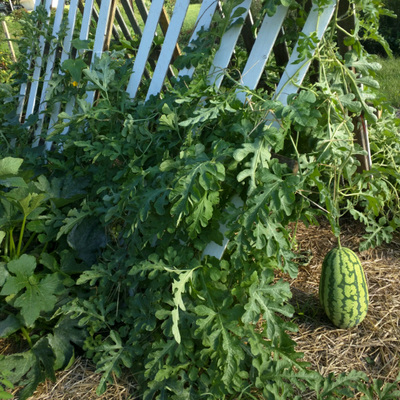
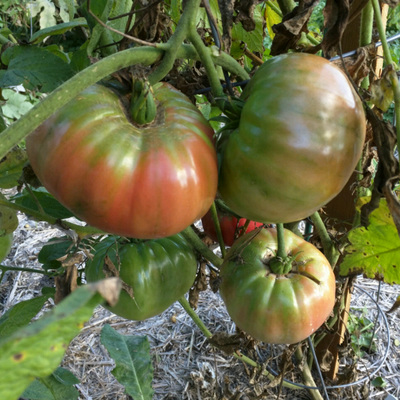
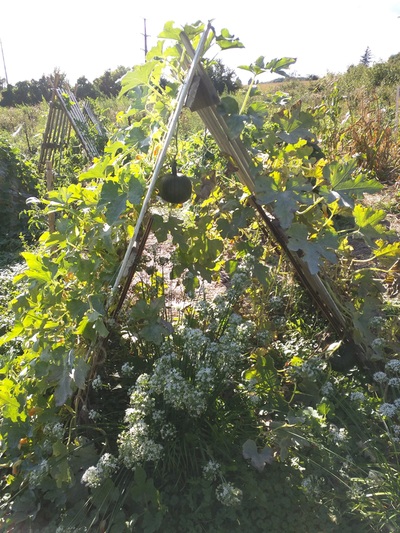
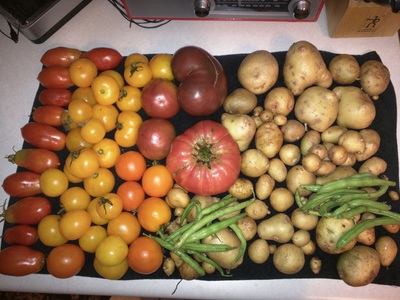
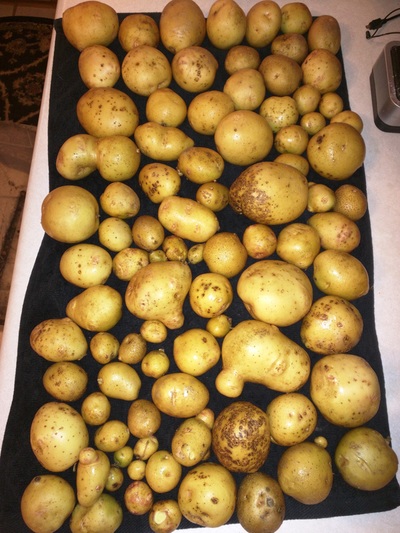
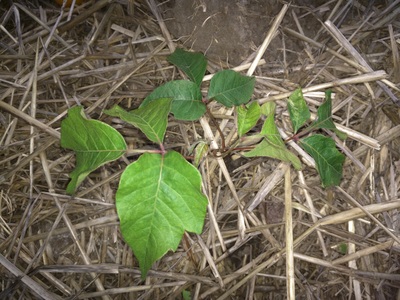
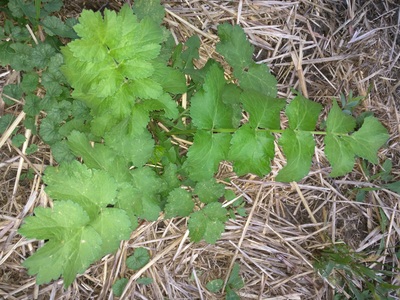
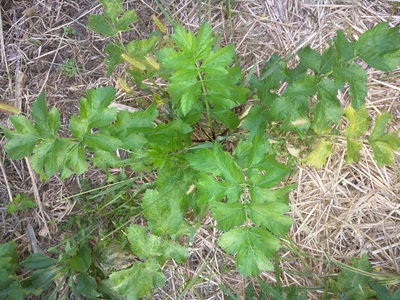
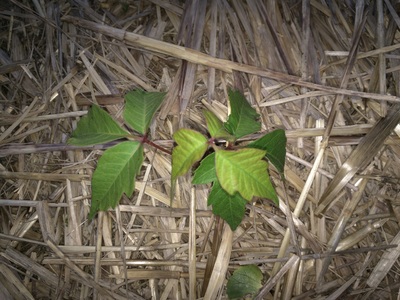
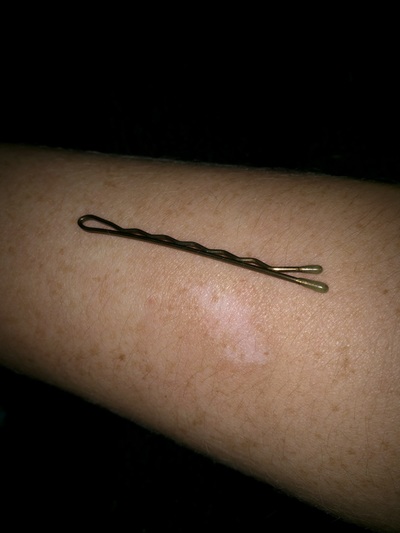
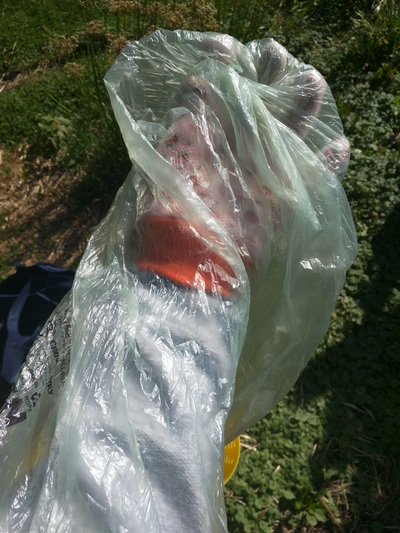
Over the past three years we have learned a lot about farming. This blog post will share with you what we see as the good... the bad... & the ugly of farming that we have encountered thus far. The Good... We are so grateful for the lovely produce and farming knowledge base that we have grown. Over the past three years we have grown five different varieties of tomatoes, three different varieties of beans, three different varieties of peppers, two different varieties of corn, two different varieties of cucumbers, two different varieties of potatoes, summer squash, rattlesnake watermelons, carrots, sweet peas, lettuce, green onions, and pumpkins. They have all been delicious! The Bad... While growing our produce & knowledge base we have determined a few bad, less desirable, aspects of farming. Our biggest struggle has been with the weeds and poisonous plants on our farm over the past three years. Our definition of "the weeds": any plant/green thing growing in our farming area that we do not consume or sell. The weeds continue to resurface despite our best no-till farming & manual efforts to eliminate them so the battle against weeds perpetuates. The poisonous plants that we have struggled with includes poison ivy & wild parsnips. We like to joke that we grow poison ivy like a cash crop on our back two acres but sadly it is the truth. The poison ivy is everywhere out there! This year has been our first year of battling the wild parsnips but it packed a wallop. As a result, we have adapted ways of coping with these vicious plants. Our self defense mechanisms now include wearing blue jeans, high ankle socks, closed toe shoes, & gardening gloves EVERY TIME we go on the farm. Wearing all these clothing items might seem like a no-brainer. However, when it is 95° outside wearing all that clothing SUCKS hard but not no where near as much as being burned by either of these plants. Our last, sometimes seemingly least effective & scary as hell defense mechanism is manually removing these plants from our farming area. Yes, we do pick these plants "by hand" and throw their limp, lifeless vegetation fannies as far as we can into our back acres. It has been quite exhilarating to remove these plants out of our farming area; reasserting that we can adapt and thrive as farmers. In case you are wondering, the term "by hand" means that we use our gloved hand that is also inside a plastic bag to manually remove these plants from our farm. Often we compete on who can pull the biggest root. You know a friendly competition that could end with us both having blistered skin, but hey, a farmer's gotta do what a farmer's gotta do. On a final note, we have experienced numerous allergic reactions due to poison ivy & wild parsnips over the past three years. However, we are proud to say that this year is the first year that Armonda has not had to receive a prednisone shot in the booty to alleviate an allergic reaction. Woo hoo!!! Viewer discretion is advised. The following photos are stuff of our nightmares. The Ugly...
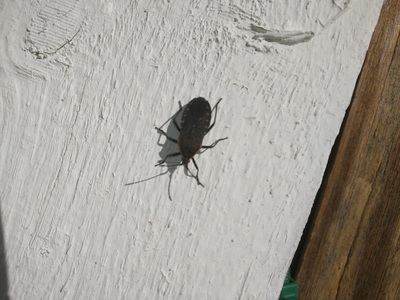
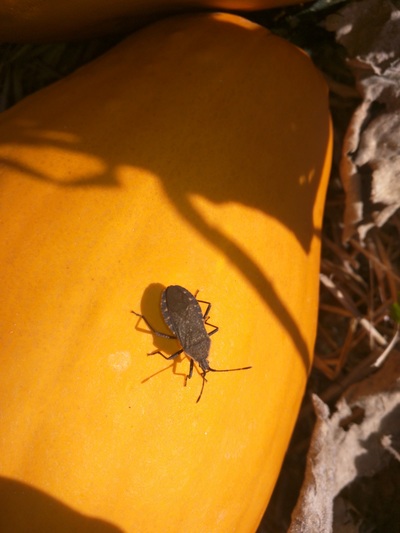
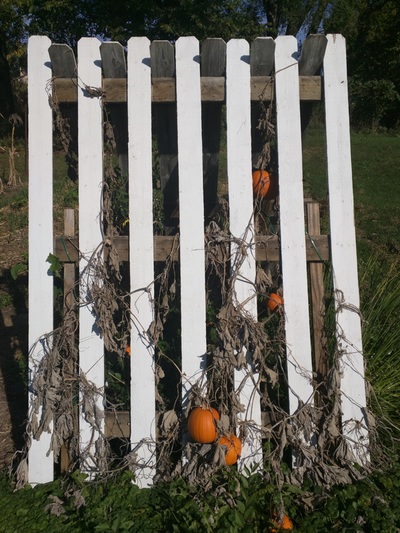
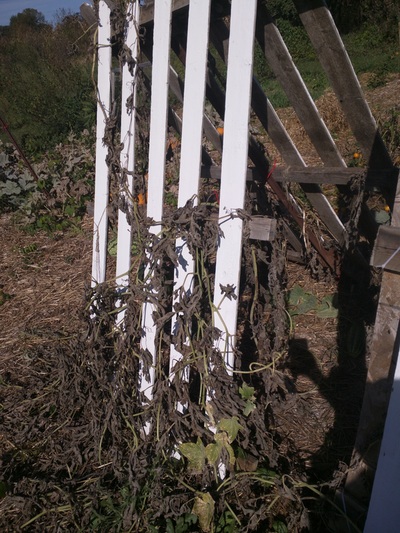
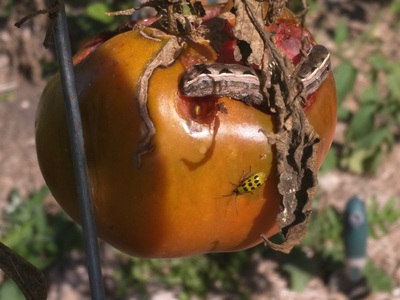
Destruction from grasshoppers, squash bugs, tomato moth caterpillars(hornworms), spotted cucumber beetles as well as dying plants & weather are the most of the ugly factors that we have experienced. We have learned that there is nothing more depressing & infuriating than experiencing any & all of the above. For example, last year we harvested over 45 pie pumpkins from three plants & this year we only harvested 25 pie pumpkins from three plants. Here's the hardest part to digest... The only reason were were not able to grow & harvest more pie pumpkins this year is because our plants become infested with squash bugs and died off last week. It is so hard to watch it wilt away when you worked so hard to grow, protect, & nurture it. Since we do not use chemicals on our farm we hand pick as many of the less desirable insects off our plants & dispose of them, usually we squish them to death. It is a tragedy, but it is a survival of the fittest world we live in. We do use diatomaceous earth to curtail our locust, grasshopper, population. Otherwise, the locust would eat us out of house & home. The most unpredictable & unsettling part we have had to work with is the weather. Our first year we were just coming out of a drought & concerned about having enough water in our well to drink & shower with, so we did not have any to spare to water our farm if it needed it. Thankfully, mother nature has cooperated over the last three years & we have had successful harvests. However, we know that farming is very volatile. In spite of all the potential ugly factors, we love farming & look forward to farming for the rest of out lives! |
Welcome!We are Four Flags Farm, Armonda & Ben Riggs! Archives
February 2022
Categories |












 RSS Feed